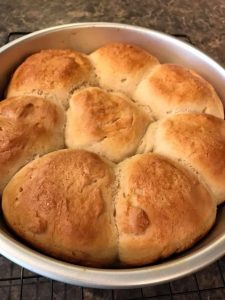
I’ve been on the hunt for a decent gluten free bread roll. One that isn’t heavy like a rock, that rises well and smells good and that doesn’t act like a rubber band when I pull them apart ( you know what I’m talking about).
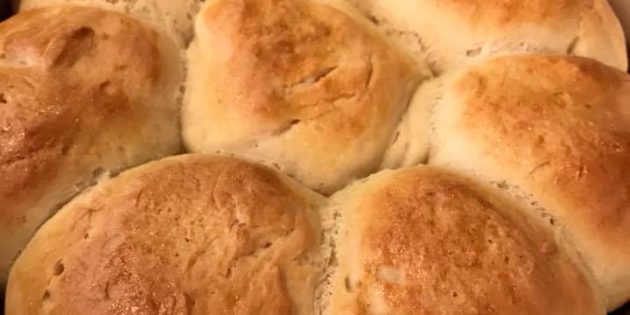
I think I’ve hit the jackpot here. Really good taste, nice texture and NO gumminess! Finally, a roll that I really enjoy eating. These do taste better the day they are made.
Gluten Free Dinner Rolls
Ingredients:
1 1/3 cups warm water ( 110 degrees)
2 tsp. lemon juice
1 large egg and 1 egg yolk
3 cups gluten free flour blend with NO xanthan gum added.
1/3 cup tapioca starch
1/2 cup nonfat dry milk powder
2 Tbsp. powdered psyllium husk
2 Tbsp. sugar
2 1/4 tsp. instant or rapid rise yeast
2 tsp. baking powder
1 1/2 tsp. salt
6 Tbsp. unsalted butter, cut into cubes and softened
Egg wash:
1 large egg
1 tsp. water
Pinch salt
Needs to rise.
Directions:
Pull out a 9″ cake pan. Spray with non-stick cooking spray and set aside.
In the large bowl of a stand mixer, add the gluten free flour, tapioca starch, dry milk powder, psyllium husk, sugar, yeast, baking powder and salt. Mix together a couple of times to combine.
In a medium sized bowl, whisk together the lemon juice, egg and egg yolk, and warm water. With the mixer going on low speed, slowly add the warm water mixture. Stop and scrape down the sides. Mix together for 1 minute. Stop and scrape down the sides one more time..
Add the butter and mix on medium speed for 6 minutes.
Grease up your hands by spraying them with non-stick spray. Using a 1/3 cup measure scoop out the dough and gently round with your hands. Place 7 dough balls around the outer edges of the pan and put the last one in the middle. Try to space evenly apart if you can.
Cover with plastic wrap that has been lightly sprayed with cooking spray. I usually do this over the sink. Place in a proofer, if you have one, and allow to rise until doubled in size. This will take about an hour or so. I do not own a proofer ( yet 😉 so I place mine on top of my toaster and angle right underneath my under-the-counter lights. This seems to work pretty good.
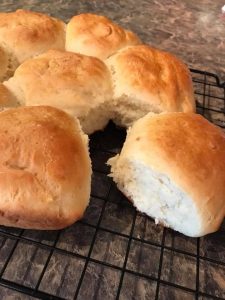
Once the rolls have risen you can bake them right away, or place them in the refrigerator for no more than 4 hours and bake then. That way, if you want to prepare them ahead of time and serve them hot, you can.
Place the oven rack in the middle of the oven and preheat to 375 degrees. Remove the plastic wrap.
Now you can brush the rolls with an egg wash if you want, or bake them and then butter the tops. The ones I did do have the egg wash and that’s what helps to give them that nice brown top.
For the egg wash, whisk together 1 large egg and the teaspoon of water in a small cup or bowl. Use a pastry brush and gently brush the tops of the rolls. Throw the rest out. You will not need it all.
Place the pan of rolls on a cookie sheet and bake for 35 to 40 minutes. You should check them after 20 minutes and make sure the tops are not going to get too brown on you. If they look fine, let them go another 5 minutes and then check again. If it looks like they are going to almost burn, grab a piece of aluminum foil and just place it over the top of the pan. That will help shield them.
The rolls are done when a toothpick inserted in the center comes out clean.
Place the pan on a wire rack and cool for 10 minutes. Then pop the rolls out and cool on the wire rack for another 10 minutes.
All done! Congratulations! You did a great job.
Kathy
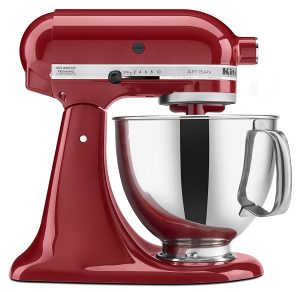
Here’s the stand mixer that I love and have, the Kitchen Aid. It is a workhorse and allows me to move freely about the kitchen while it does it’s thing. So nice.
If you want to splurge on something this is a great proofer. If you will be baking a lot of yeast breads and rolls, it really is nice to have one. My toaster will only hold a small size. This one will be in my future.
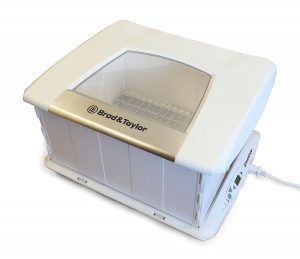 It keeps a very consistent temperature no matter what temperature your house is. It has enough space for 2 bread loaves at once.
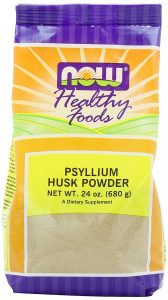
Now, there is an ingredient in here that you may not have heard of before. Its’ the psyllium husk powder. This powder takes the place of xanthan gum and guar gum and binds the flours together very well in breads and rolls that require yeast. I have been experimenting with it a little and then bought the Americas Test Kitchen Cookbook and they use it as well. You can find it here on Amazon. It’s not something that the local stores carry, I’m afraid. This is the brand I use.
Thanks so much for helping me keep blogging. Every time you click on a link I may receive a small commission from it, so thank you again for all your support. It is greatly appreciated.
This recipe adapted from Americas Test Kitchen How can it be Gluten Free cookbook.

2 Comments
winnie
January 21, 2018Looking forward to seeing more recipes.
winnie
January 21, 2018Thank you for responding.
Leave A Response