Don’t buy those expensive bars when you can make your own.
Sometimes you just want something fruity and chewy to satisfy the afternoon munchies. Take these gluten free bars along with you to the office, or pop them into your purse when you go shopping. Take the whole pan on your next road trip or pack em up in your carry-on for a little something to keep you going on the plane.

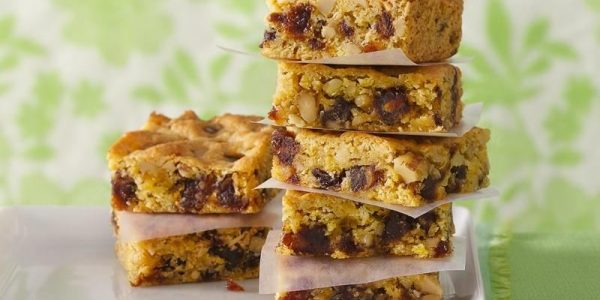
Gluten Free Fruity Bars
6 Tbsp. butter or dairy free margarine
1/2 cup sugar
1/4 cup packed brown sugar
1 egg
1 tsp. orange zest
1 tsp. gluten free vanilla extract
1 cup gluten free flour blend
1/2 tsp. baking soda
1/4 tsp. xanthan gum (omit if flour blend has it already)
1/4 tsp. salt
1/2 cup chopped dried apricots or other dried fruit
1/2 cup chopped nuts or more dried fruit
Preheat the oven to 350 degrees. Grease a 9″ square baking pan.
Beat the butter, sugar, brown sugar and egg together in a large bowl until light and fluffy, about 5 minutes.
Mix in the orange zest and vanilla extract.
In a medium bowl, whisk together the gluten free flour blend, baking soda, xanthum gum and salt. Add to the butter mixture until combined. Stir in the dried fruit. Â Spread in the prepared pan.
Bake for 25 to 30 minutes or until very light brown. Cool the bars in the pan on a wire rack. Cut into squares.
You can change up the flavor by substituting the apricots for something else. Dried cherries, blueberries, cranberries, chopped mango or pineapple would give the bars a totally different taste.
 Other add ins: cut up your favorite gluten free candy bars into small pieces and add that. You could also add in gluten free chocolate chips or flaked coconut or crumbled up gluten free cookies.
I just can’t get enough cookie recipes for me. Especially ones that I can take with me when traveling. Then I can get to the hotel or wherever I’m staying and still have something I can munch on.
Happy Baking!
Team Gluten Free Farm Girl
Photo source: Betty Crocker


 This copyrighted material may not be republished without express permission. The information presented here is for general educational purposes only. MATERIAL CONNECTION DISCLOSURE: This website contains advertisements. You should assume that this website has an affiliate relationship and/or another material connection to the persons or businesses mentioned in or linked to from this page and may receive commissions.
Leave A Response