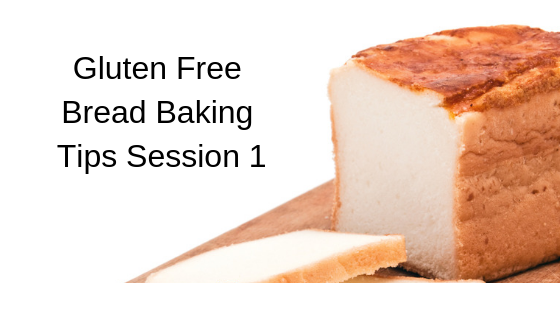
 How to have great success
with gluten free breads!
Ahhh! The wonderful aroma of fresh baked bread is too irresistible! Many restaurants entice you with an appetizer course of wonderful breads baked fresh in their kitchens before your main entree arrives. It smells so good, but for us celiacs, the bread basket passes us by.
Well, no more! The art of making great gluten free bread at home is alive and well in my kitchen and I hope it will soon be in yours. Imagine biting into a soft roll that stays supple and fresh for a couple of days.
How about your own gluten free hamburger buns so that you can enjoy your burger WITH a bun! Not to mention sandwich buns, dinner rolls, english muffins, monkey bread, pizza and numerous other variations that is only limited by your imagination.
So… how do you make all these scrumptious things! Does it require long hours and numerous recipes to concoct all this bread? Will you go crazy trying to read a recipe that is 3 pages long? The answer, of course, is NO!
All you need are a few basic recipes to create endless variety in your bread baking repertoire. You will learn, through a step by step process, how to make scrumptious treats your non-celiac family will enjoy.
Cheat #1
All gluten free yeast bread dough’s are on the wet side. They resemble a batter bread, that is loose, soft and sticky. It keeps the gluten free bread from becoming a brick when you bake it. Bricks happen when you try to make your gluten free bread dough behave like regular yeast bread dough.
Cheat #2
Gluten free bread dough must be scooped out (this is where cookie scoops come in handy) and smoothed with your oiled or wet hands. To make roll shapes, you will need pans that the bread can form to, like a muffin tin or special bread roll pan.
Cheat #3
Below is a list of pans and what you can use them for.
Hamburger Bun Pan: hamburger buns, sandwich rolls
Loaf pan ( any size): Loaf bread, hot dog buns, monkey bread
Bundt or Tube pan: monkey breads
Round cake pans: dinner rolls, one large sandwich bun ( these are fun!)
Silicone pans: dinner rolls in fun shapes, great for a children’s sized sandwich
English muffin rings: english muffins, a must have for them
Shortcake pan: use to make gluten free bread “bowls” for children(good size)
Small bowl cake pan: use to make “bowls” for adults
Pizza pans (all sizes): pizza (also good for cookie pizzas)
Muffin pan or ramekin’s: dinner rolls, individual monkey bread servings
Donut pan: Bagels
I am sure you can come up with a whole lot more ideas once you get started. Let me know, so we can share these with everyone else!
Cheat#4
When using your bread machine, make sure the dough is soft enough after the first mixing. If you need to add more liquid until it looks right, do so. You can also use the dough setting on your machine if you want to make rolls or pizza.
I would make the first two to three batches of bread dough by hand just so you can get used to what the dough should look like. It’s just like when your grandma would make pie crust or biscuits by looking at it and saying, “that’s look just right”. You will be able to do the same.
Cheat#5
Use your microwave! No, not to bake with, but to get it to rise faster. After you place your gluten free dough into whatever container you are going to bake it in, you can use your microwave to speed up the rise process. Take a microwave proof container that will hold about 4 cups of water. Use one that will give you enough space to place your dough container in there too.
Fill your microwave container with 2 to 3 cups of water and heat up in the microwave for 2 to 4 minutes, enough to just get it to boil. You want VERY hot water. When this is done, place the pan with your bread dough into the microwave and close the door.
DO NOT TURN YOUR MICROWAVE ON WHILE YOUR BREAD PAN IS IN THERE! The heat and steam generated by the water in the microwave will promote a faster rise for your bread. After about 35 minutes, go ahead and check on your dough. If it has risen enough, take it out and place in the oven to bake. If not, leave in the microwave for another 10 minutes.
I love proofing my bread dough this way.
These are only the first 5 tips!
I will be sending along the next 6 tips in a couple of days. Pretty soon, you’ll be a bread baking expert.
To fun in the kitchen 🙂 ,
Kathy


Leave A Response