The weather is beginning to turn. The mornings are cooler and the leaves are starting to change color on my grape vines and peach trees. We just pulled out all our summer vegetables and flowers and are preparing the garden for our winter season.
We’ve always enjoyed Halloween. Every year, the kids and I would go to the fabric store and pick out costume patterns and fabric. When the kids were young, they went as cowboys, army men, a princess or fairy.
As they got older it turned into Jedi Knights, Princess Amidala, Sherlock Holmes and Columbo. I can’t wait for grand kids so I can start making costumes again. I love it!
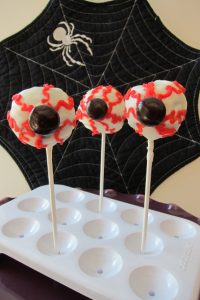
Here is another “spooky” Halloween treat. You don’t need much to make these gluten free desserts. Just bake up your favorite gluten free brownie mix and get ready to make the coolest treats ever!
Gluten Free Desserts: Eyeball Halloween Cake Pops
Ingredients:
One pan of prepared Gluten Free Brownies (I like King Arthur Flour brand)
1 12 oz. bag of gluten free white chocolate chips
2 Tbsp. shortening
1/3 cup gluten free white frosting (I use Betty Crocker)
Gluten free mini chocolate chips or mini chocolate candy pieces (think M&M minis) or Junior mints
Red paste food coloring
12 Popsicle sticks
Equipment:
Bowls, microwave, Styrofoam circle to push the pops into to serve or cake pop stand
Directions:
Crumble the baked brownies and form into a tight balls using your hands. About the size of a golf ball. Repeat until you have made about 12 brownie balls or until you have made the amount you want. Place on a baking sheet, pan, or plate and place in the freezer for about 30 minutes to harden up a bit. Meanwhile, melt the chocolate chips and the shortening together in the microwave in a microwave safe bowl until melted. Heating in 15 second intervals and stirring in between to ensure the chocolate doesn’t burn.
Dip the end of one Popsicle stick into the melted chocolate and push into the brownie pop. Allow to harden for about 5 minutes. Do this for all 12. Remelt the chocolate if needed. Dip the entire brownie pop in white chocolate to coat using a spoon to help cover if needed. Allow excess to drip back into the bowl.
Place them on a cake pop tray or stick into a piece of Styrofoam to hold them up. Allow the chocolate to harden. You can place them in the fridge to speed this up. Takes about 15 minutes.
Tint the white frosting with the red paste food coloring and mix well. Put the frosting into a zip top bag and cut off the corner just a little bit. Squeeze out vein lines around the brownie pop (see the photo). Then use a little bit of frosting to adhere the small chocolate into the center of the “eye”. Place in the cake pop tray or the Styrofoam to hold.
Do this to all the rest of your brownie pops.
Refrigerate until ready to serve.
These will be a smash hit at any party you go to our have at your house. These would also be great for a school party. No one will know they’re gluten free. And don’t tell them!
Happy Hauntings!
Kathy
If you click on any of the links associated with this blog we will receive a small stipend!! Thank you for supporting me and my baking addiction!!
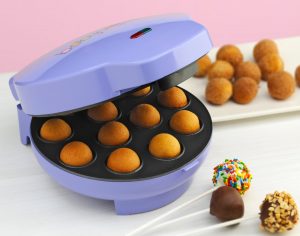
If you want to make cake pops instead of making brownie mix, crumbling it, rolling into balls, etc. etc…. you can use a cake pop maker instead. They won’t be as dense, but it will go a lot faster! I love mine! Check out the one i have here from Amazon:
Isn’t this the cutest thing!
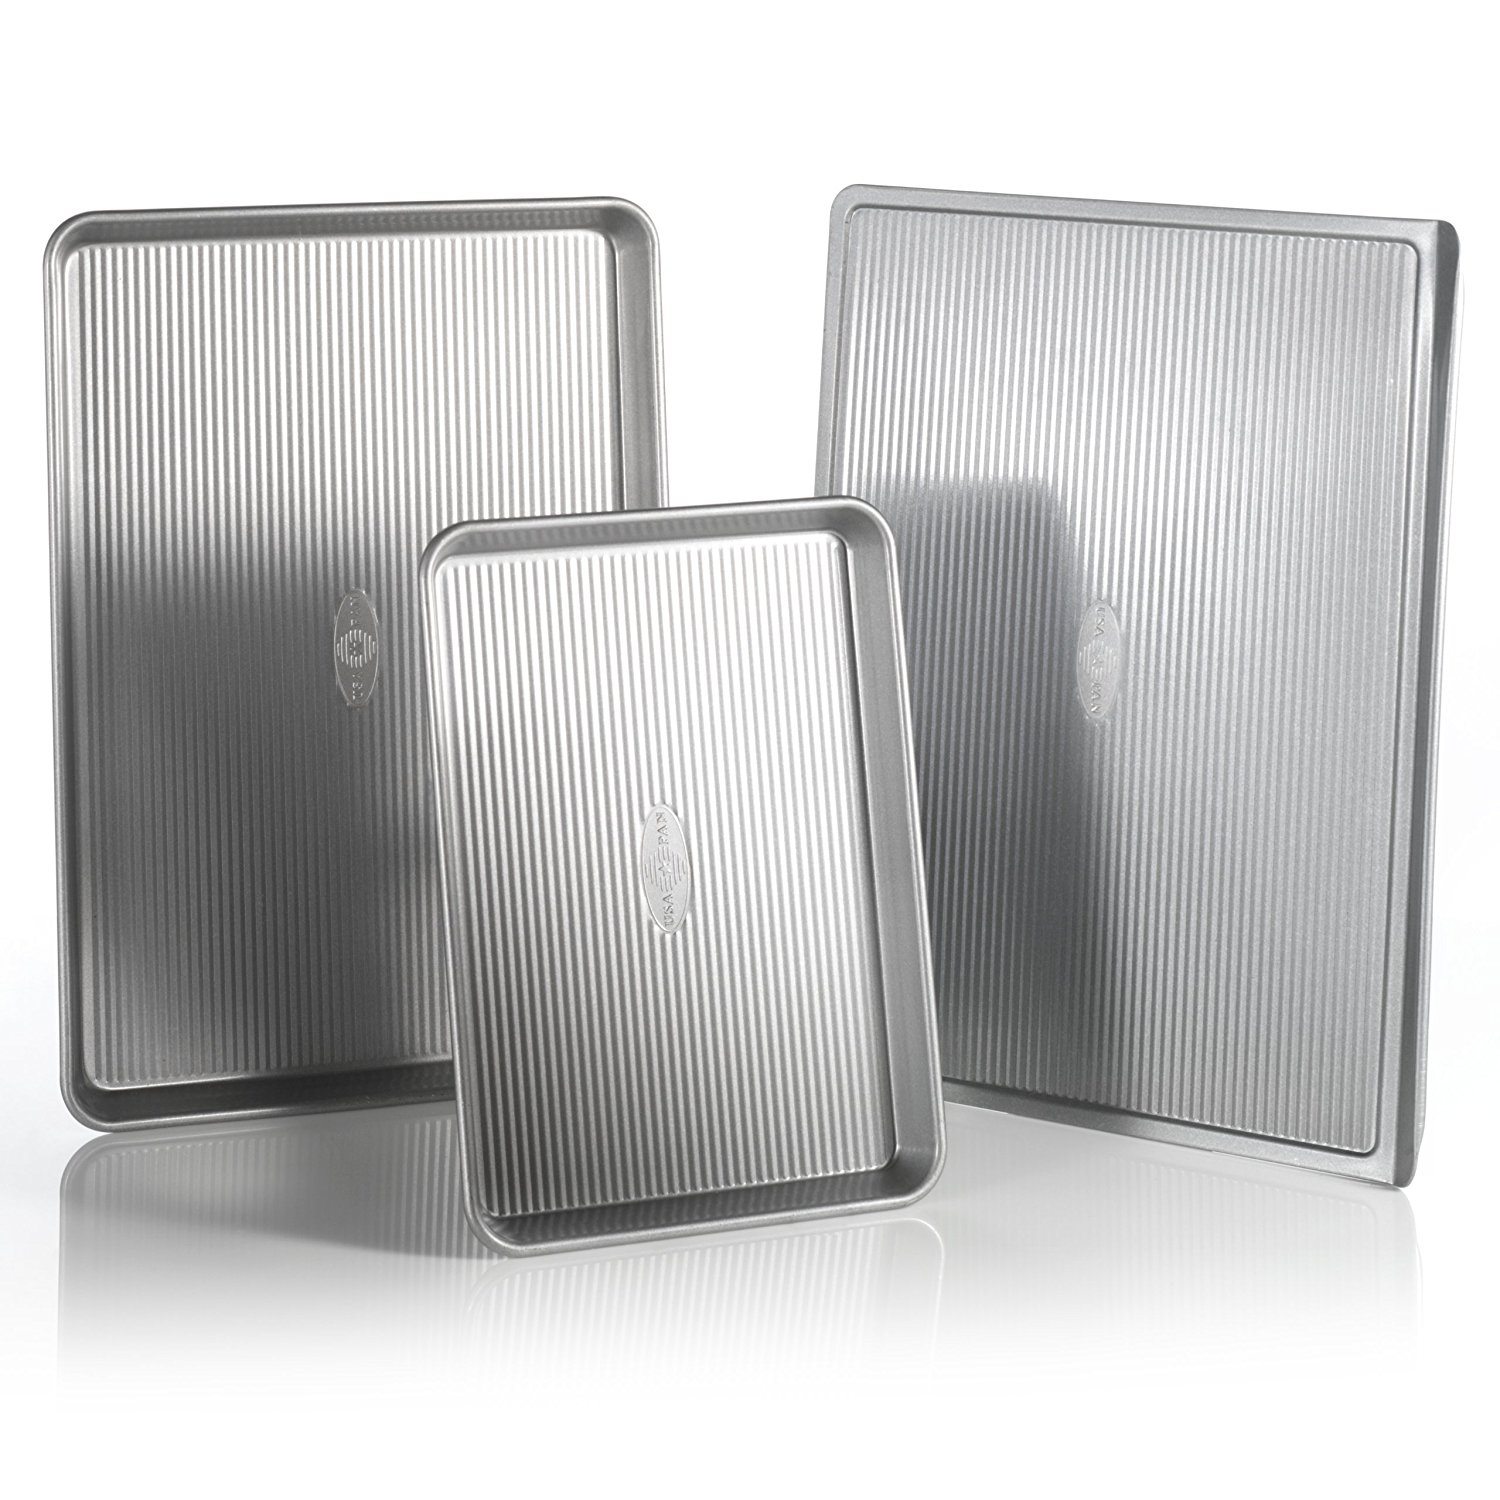
When it comes to baking sheets you cannot go wrong with the USA Baking Sheets! These baking sheets are top of the line and not to expensive! I’ve had mine for a number of years now and they are fantastic! The ones I have linked here come in a three pack, they are all different sizes and one un-rimmed sheet. The USA Baking Sheets have an Americoat coating that helps your goodies slide right off the baking sheet and to provide easy clean up! Click on the picture or link to check them out!!
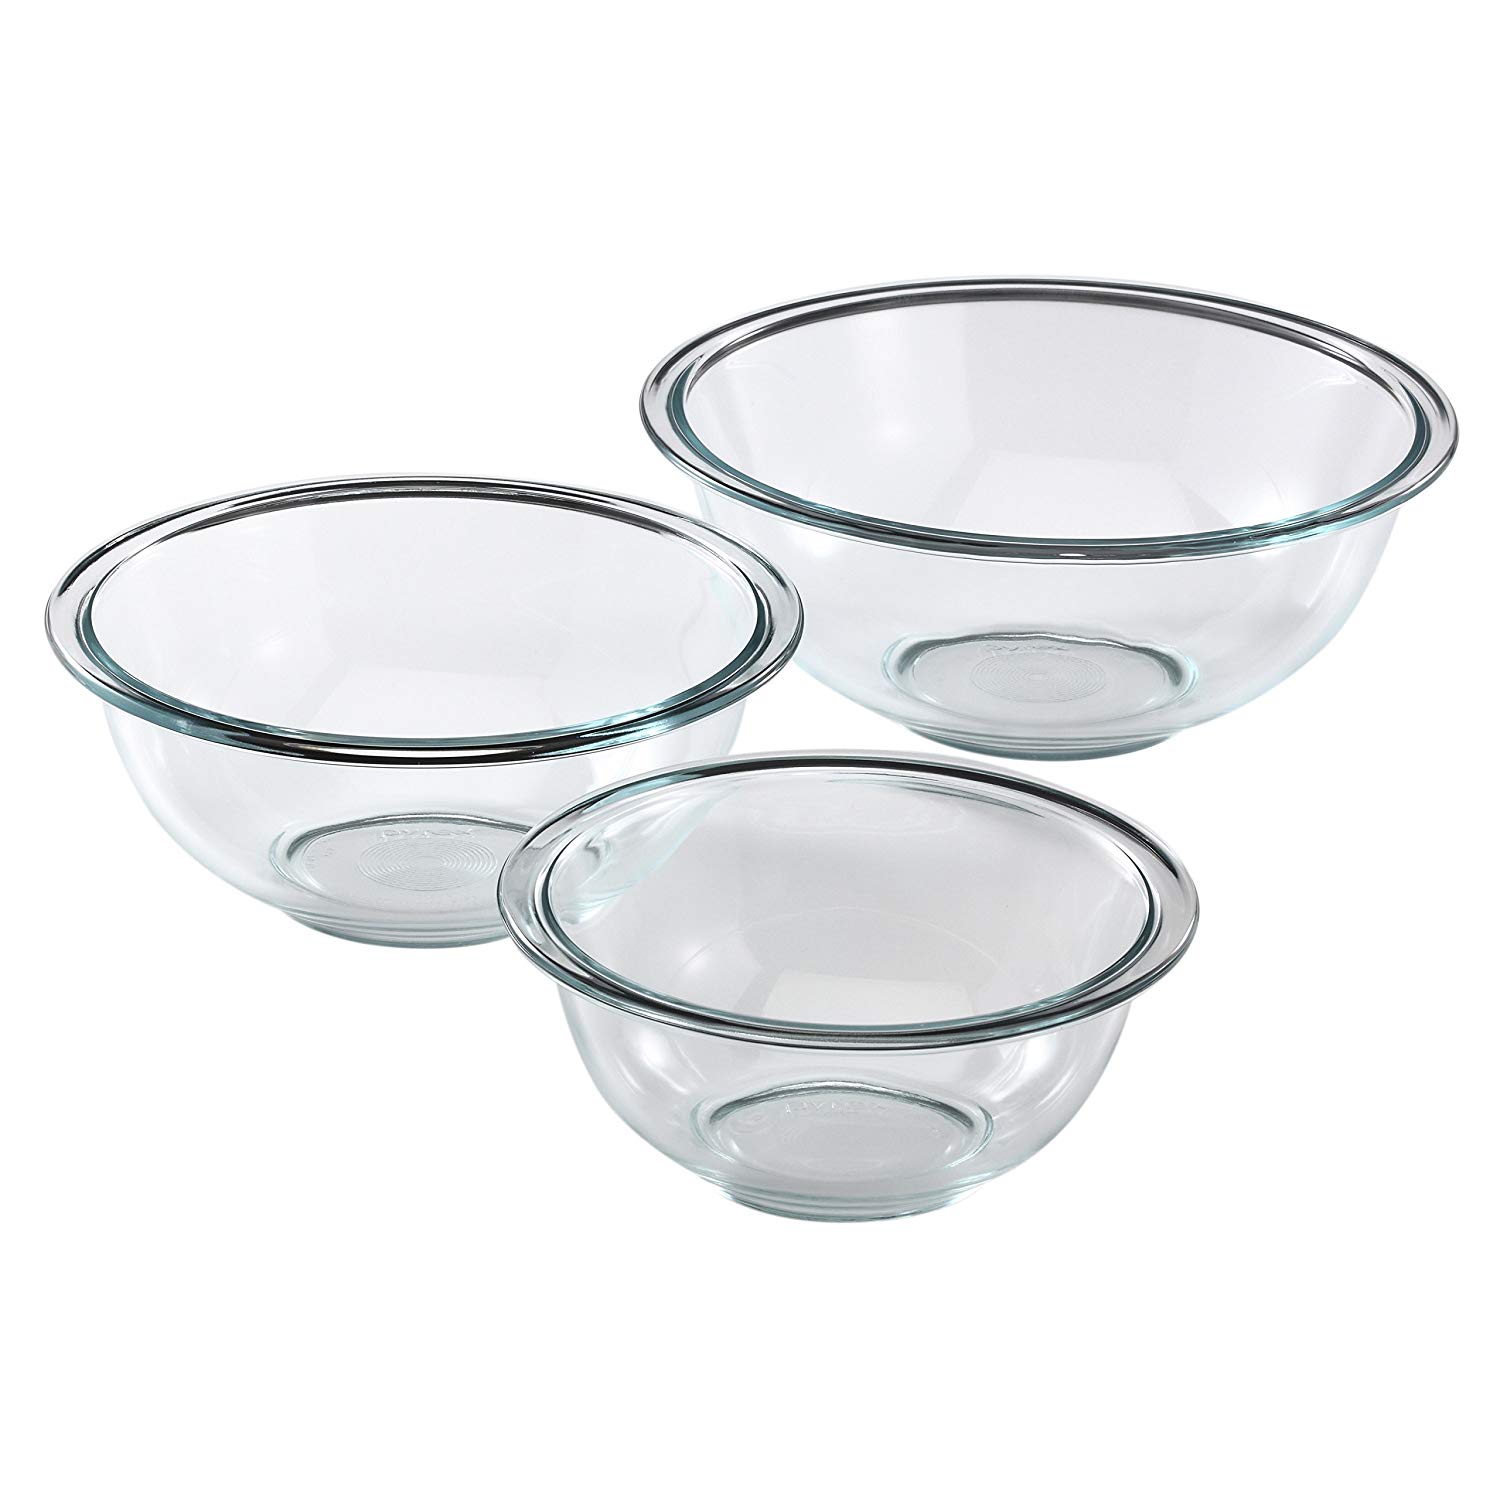
To heat up the chocolate for this recipe pyrex mixing bowl. I linked the set I have on here, it comes with three different sized bowls 1-quart, 1-1/2-quart, and 2-1/2-quart which are great sizes for all kinds of applications! They are dishwasher safe to make clean up easy! Click on the link and get yourself a set of pyrex mixing bowls!
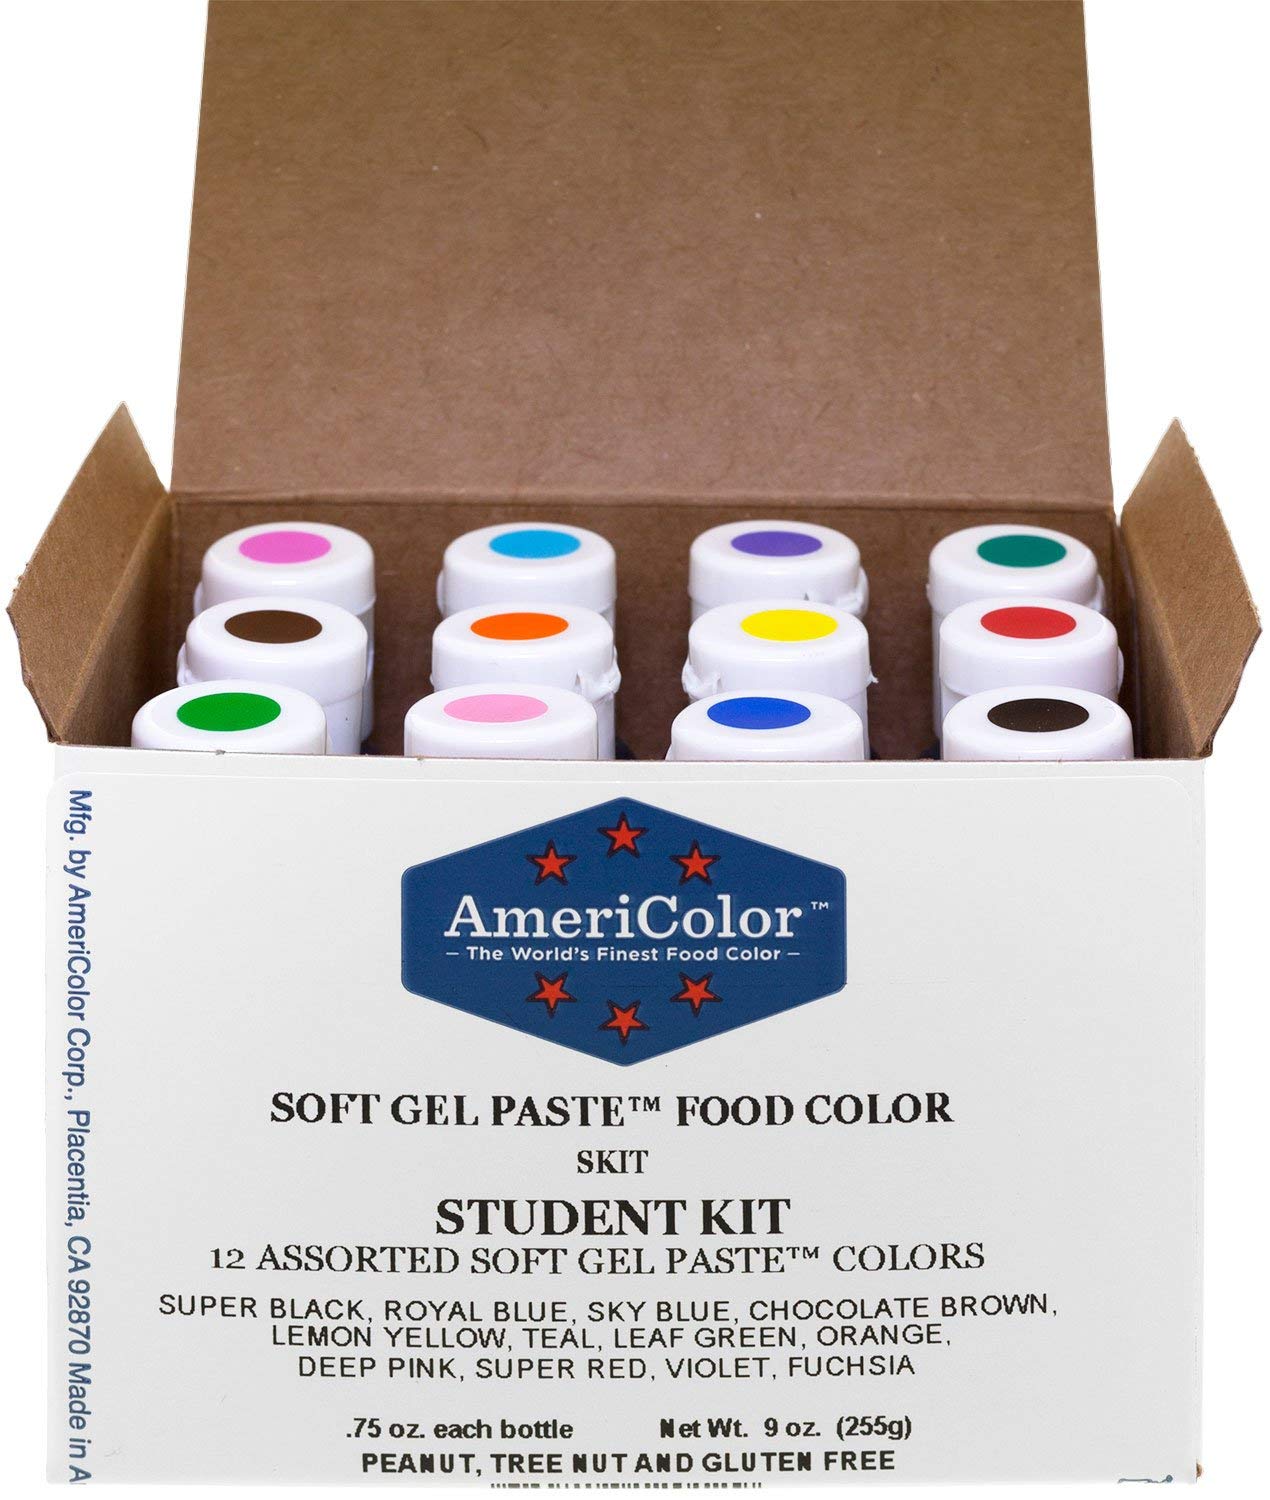
For super amazing food coloring that has beautiful color you have to try the AmeriColor Food Coloring! This pack of 12 different colors is some of the best food coloring I have ever tried! Most others I’ve used take almost the whole bottle to change the color of icing, dough, or anything else really. I linked on here is one of the packs I started out with and it pretty much has every color you need!! Click on the link or picture to check it out!!
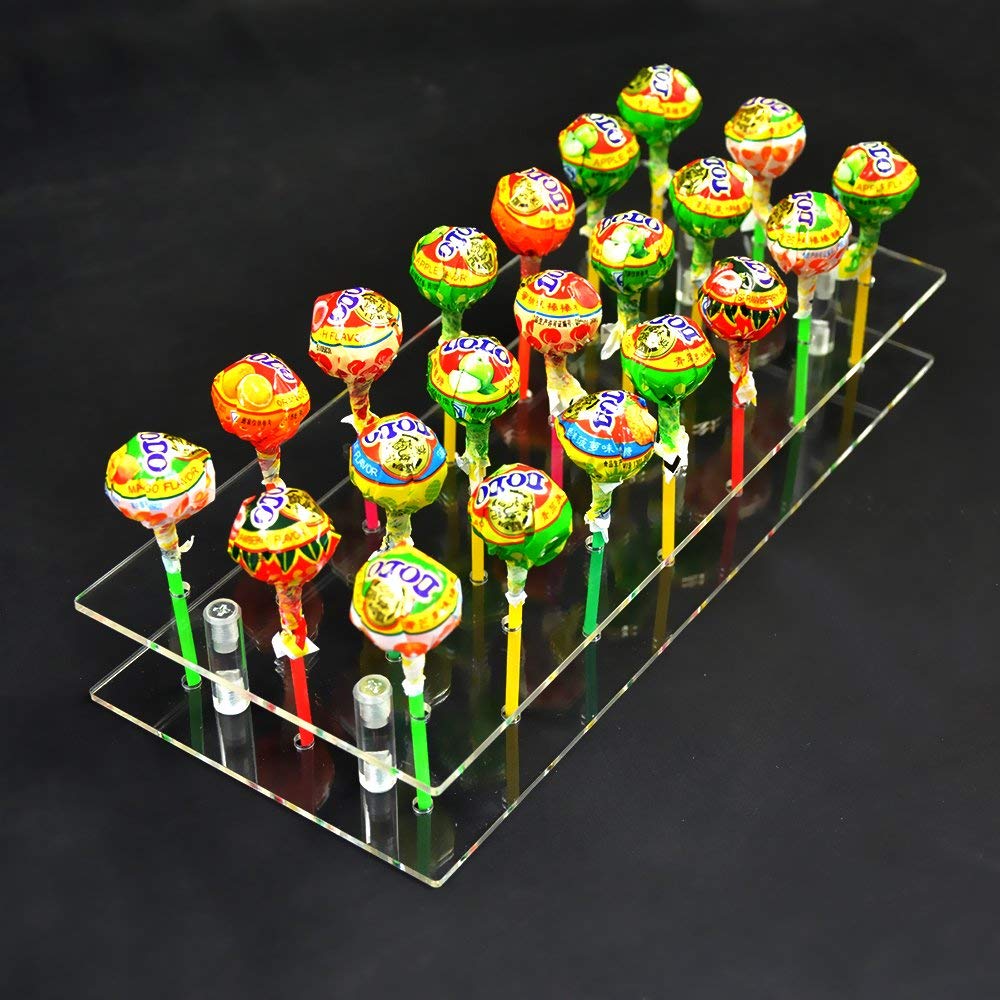
When it comes to presenting your cake pops you can use a Styrofoam circle or a cake pop stand! I linked on here a cake pop stand that holds 24 cake pops and is very reasonably priced! This one works well with cake pops and lollipops while looking a little nicer than a Styrofoam circle! Click on over and check it out!!



Leave A Response