Gluten Free Oven-Roasted Chicken Drumsticks with Roasted Root Vegetables
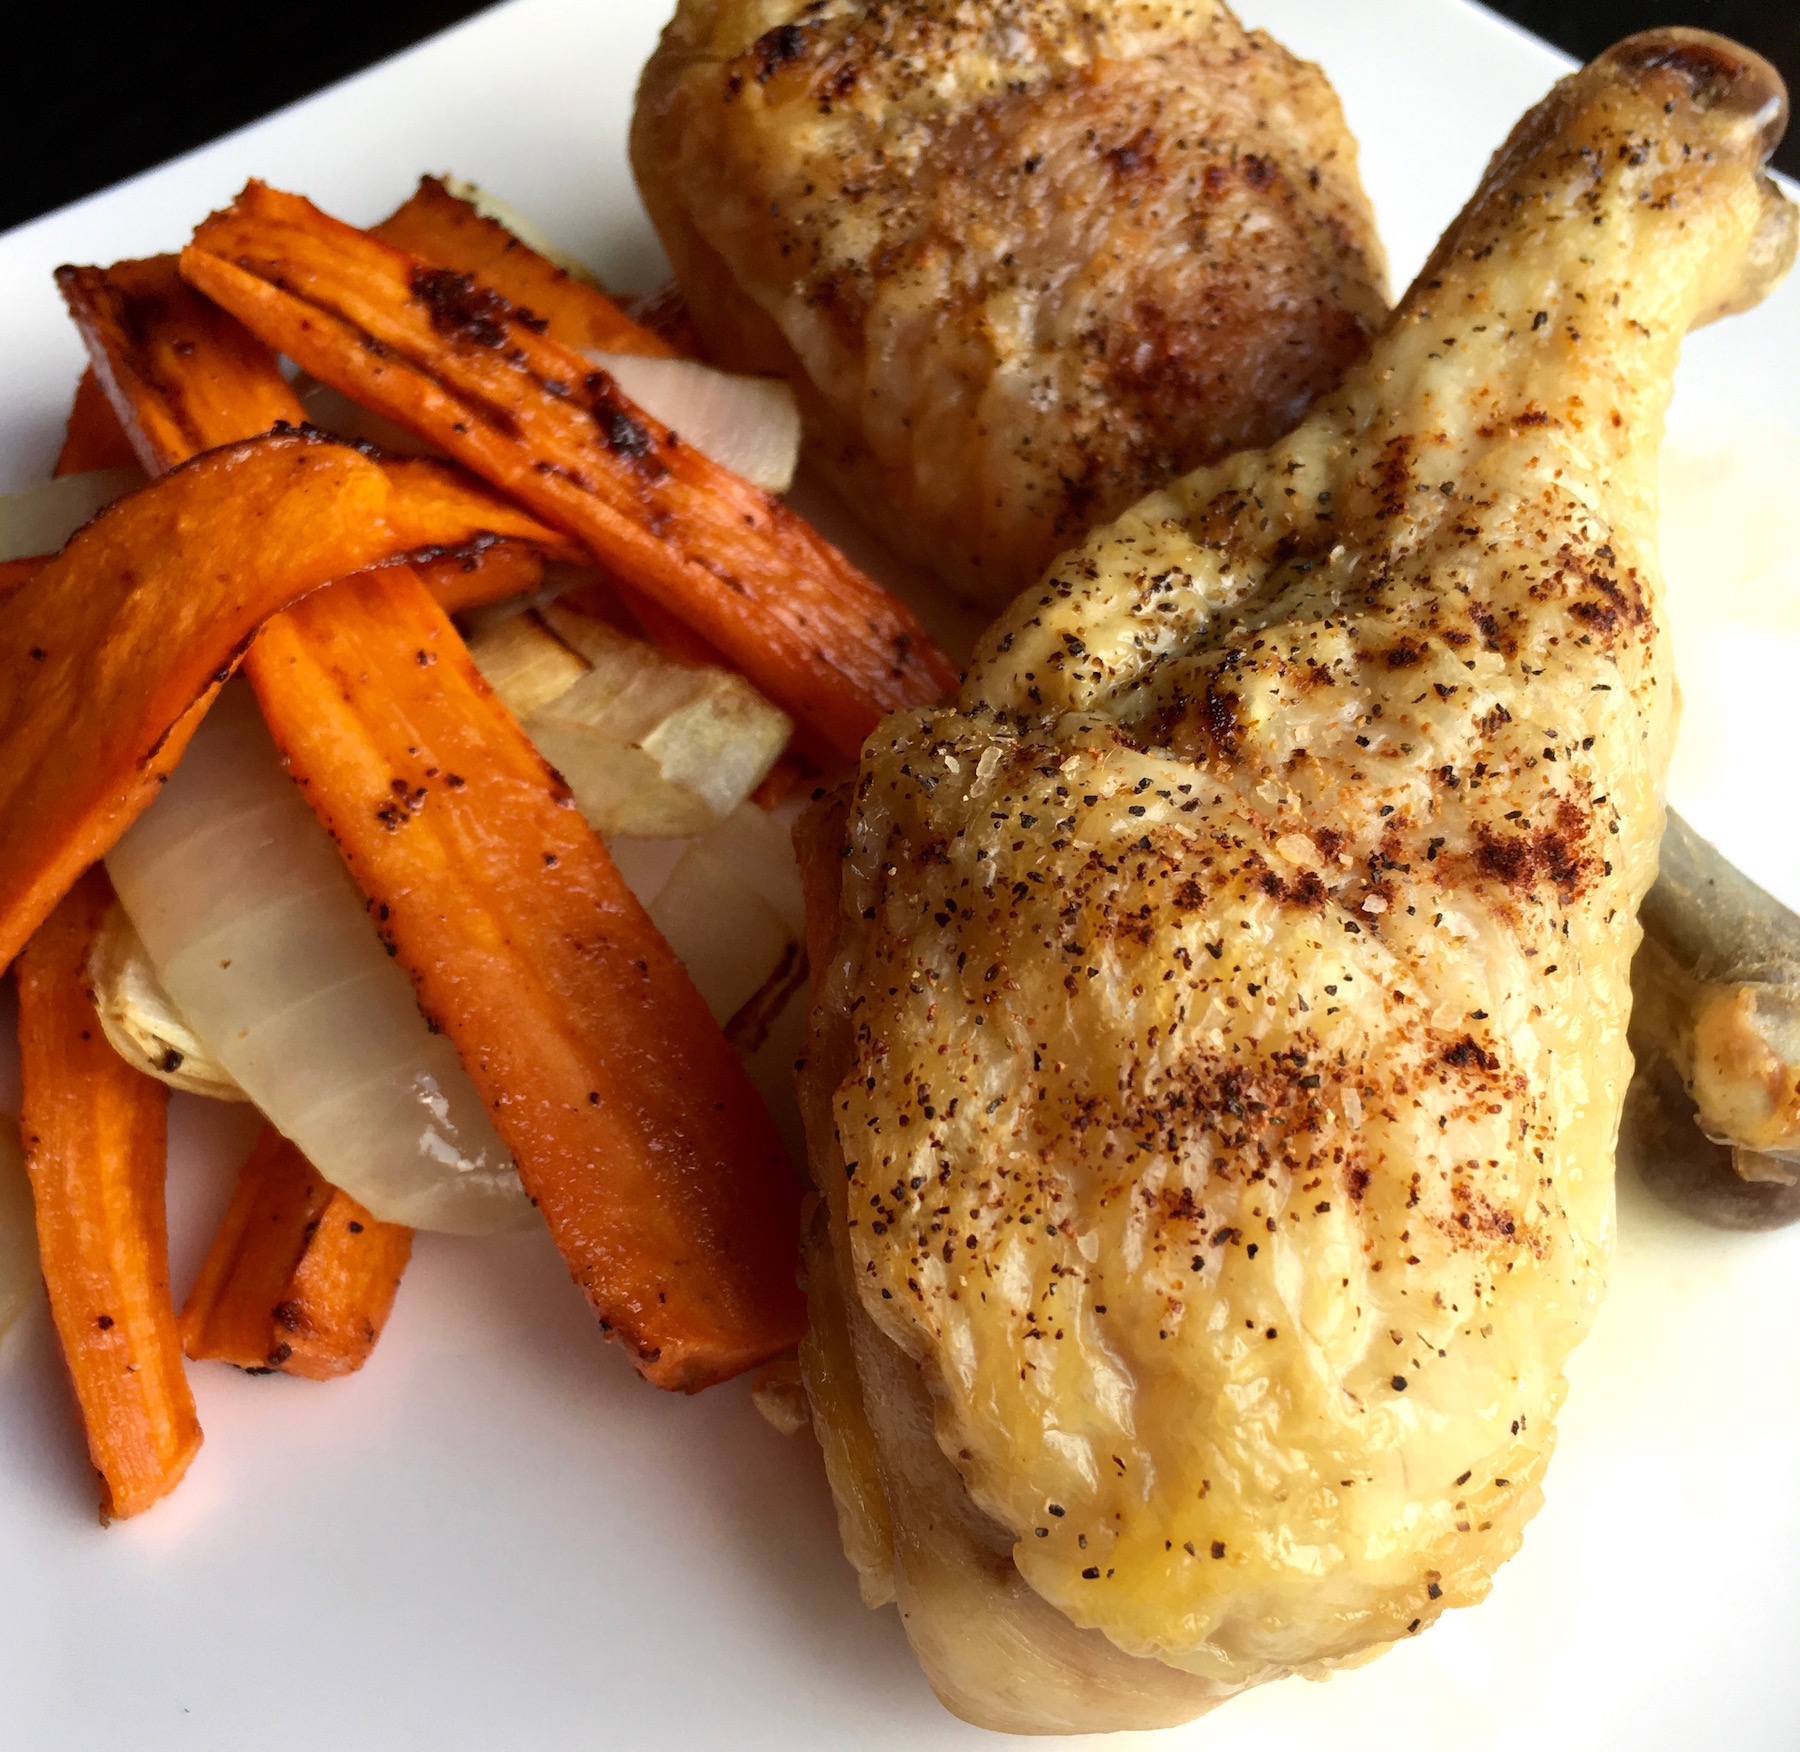
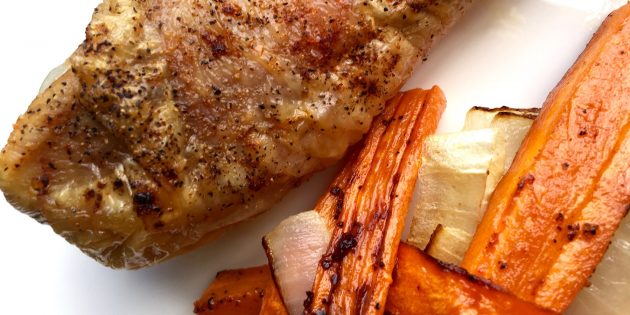
This super easy gluten free chicken drumstick recipe delivers crispy, mouthwatering results. You can further simplify this recipe by roasting the chicken and vegetables on a single baking sheet, but using the two pan method described below yields crispier, more evenly cooked chicken. Plus, it allows you to remove the vegetables from the oven a few minutes earlier than the chicken, if needed.
Important Tip: Be sure to pat the drumsticks completely dry before seasoning. The skin will not get nice and crispy if you omit this step!
Prep time: 15 minutes
Cook time: 35-40 minutes
Serves: 4-6
Ingredients:
1 lb. carrots, peeled
1 medium yellow onion
1 T. extra virgin olive oil
Salt and black pepper, to taste
6 large chicken drumsticks (with skin)
2 t. smoked paprika
2 t. garlic salt
2 t. onion salt
2 t. black pepper, to taste
Directions:
Arrange oven racks so they are evenly spaced apart before pre-heating to 425°F.
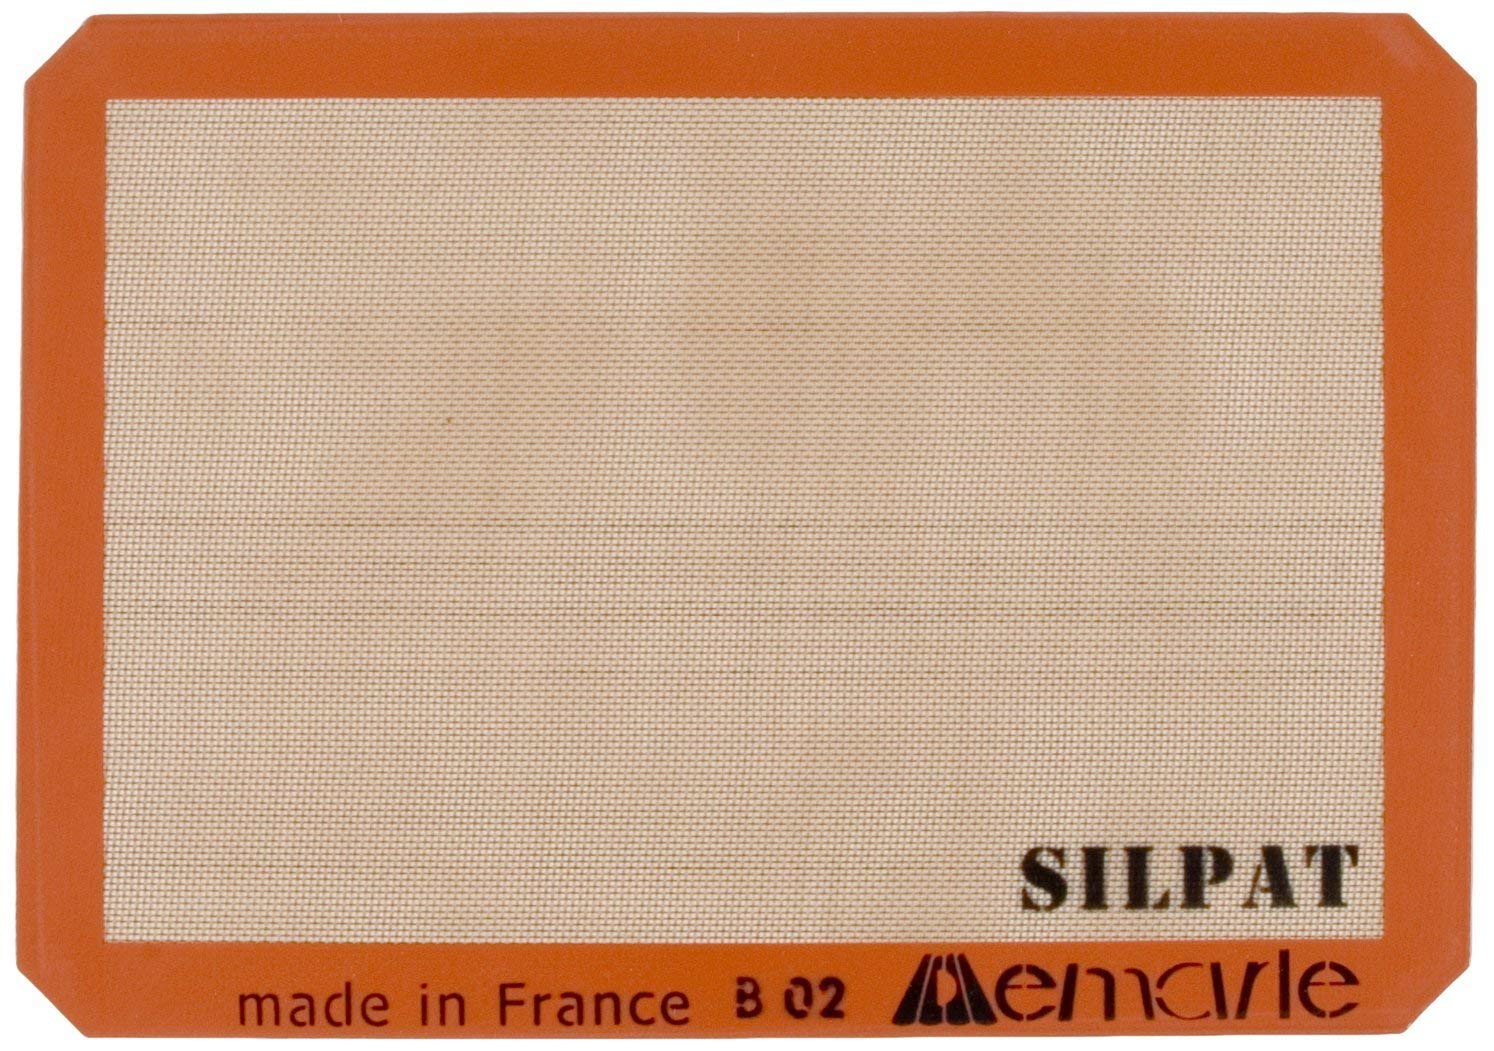
Line two rimmed baking sheets with parchment paper, Silpat baking mats, or aluminum foil and set aside.
Cut carrots into thin slices and onion into wedges before separating into individual slices. Place sliced carrots and onion on one of the prepared baking sheets and drizzle with olive oil. Season with salt and black pepper, to taste, and toss to coat. Spread vegetables into a single layer and set aside.
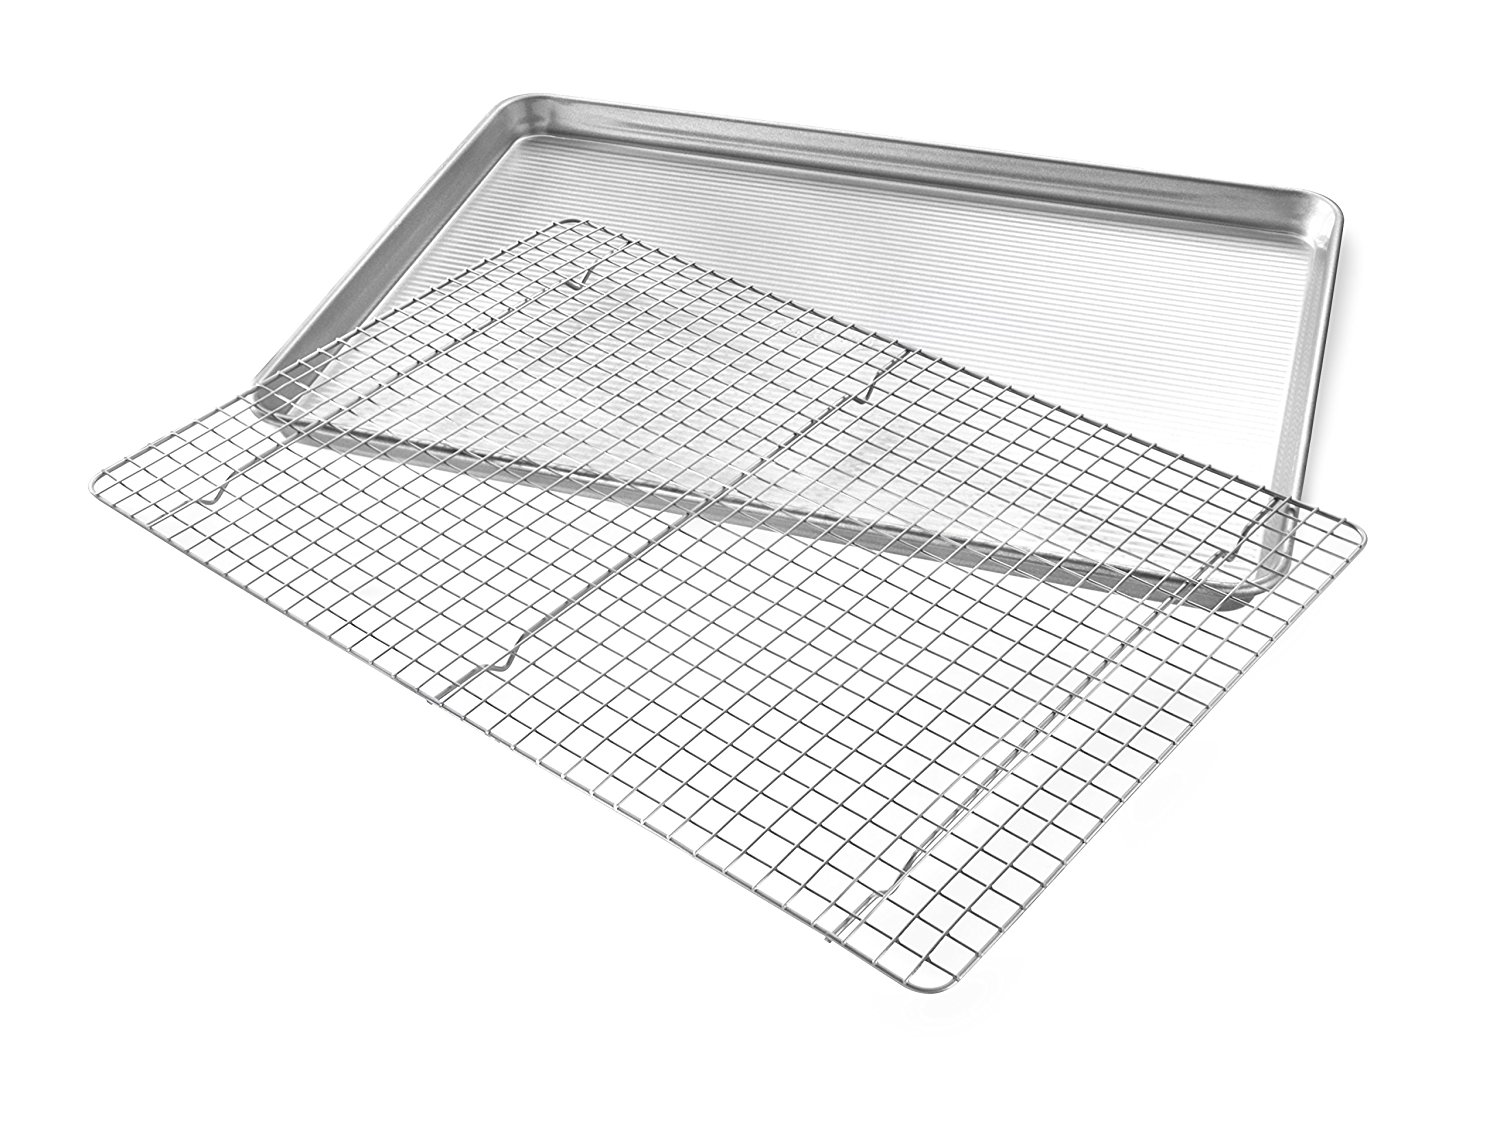
Place a metal baking rack on the other baking sheet and spray with non-stick cooking spray.
Pat drumsticks completely dry with paper towels. Sprinkle on all sides with smoked paprika, garlic salt, onion salt, and black pepper and arrange seasoned drumsticks on baking rack.
Place both baking sheets into pre-heated oven, with chicken on the upper rack. Roast for 20 minutes, then rotate both baking sheets and roast for another 15-20 minutes, or until an instant-read thermometer inserted into the chicken reads at least 165°F and the vegetables are tender and caramelized. (Depending on your oven and how thin you sliced the vegetables, they may be done a little sooner).
Remove each baking sheet from oven when ready and transfer chicken to a serving platter. Loosely cover chicken with aluminum foil and let rest for 5 minutes before serving with roasted root vegetables.
Enjoy!
Kathy
If you click on any of the links on this post we will receive a small stipend! Thank you so much for your continuous support!!
For the baking sheets I used the USA baking sheets. The one I linked on this post comes with a wire rack that fits perfectly inside the baking sheet. Not only did it work perfectly for the recipe above but I also use the rack as a cooling rack when I’m baking. The USA baking sheets are made here in the United States, nonstick, and a high quality sheet. Click on the picture or link to check them out!
To prevent anything from sticking to your baking sheets use a Silpat Baking Mat. These mats are made of a fiberglass mesh with a high grade silicone surface. They are used by professionals and provide superior heat distribution. To clean just use a bit of soap and water and they come squeaky clean. Make sure to follow manufactures instructions when caring for your mats and never cut on them. Click on the link and it will pop you over to where you can get one for your kitchen.
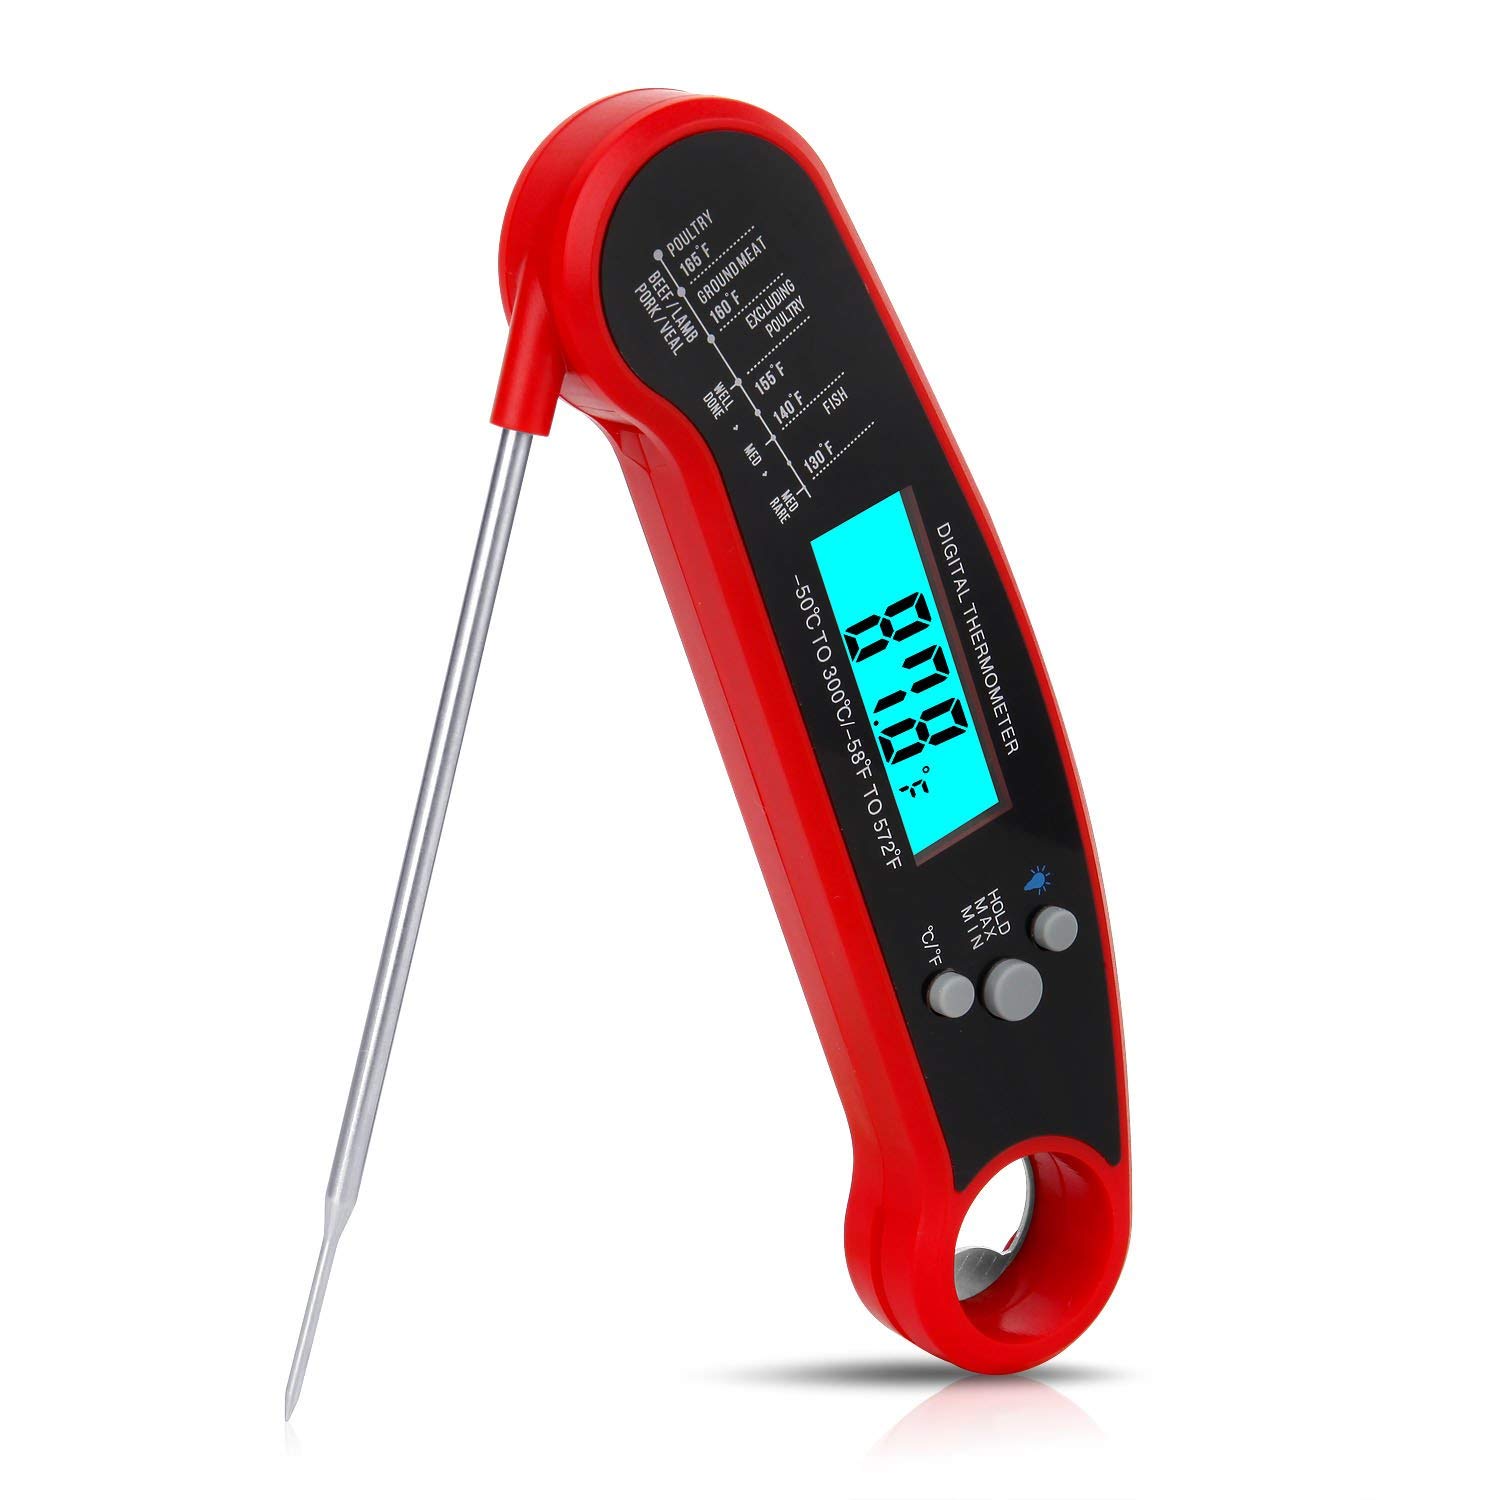
When cooking chicken or pork you want to make sure you aren’t serving under or over cooked meats. To ensure your meats are cooked to perfection you want to use a meat thermometer. The one I have works perfectly and has a 4.7 star rating on amazon. It is easy to use and provides accurate readings. The probe is made out of high quality stainless steel and is long enough to use while grilling outside! Click on the link to purchase one for yourself!


Leave A Response