Gluten Free Candy Corn Fun: Vol 2
For this post we are going to have some fun with falls favorite gluten free candy! Below are several ways to incorporate candy corn into, 1 adult beverage and 5 different crafts/recipes! Be sure to have the little ones help you with these fun crafts! Make sure to check back in tomorrow because we will be doing more fun things with candy corn!!
Be sure to follow our Facebook page! https://www.facebook.com/groups/quickandeasyglutenfreerecipes/
Recipe 1: Candy Corn Vodka
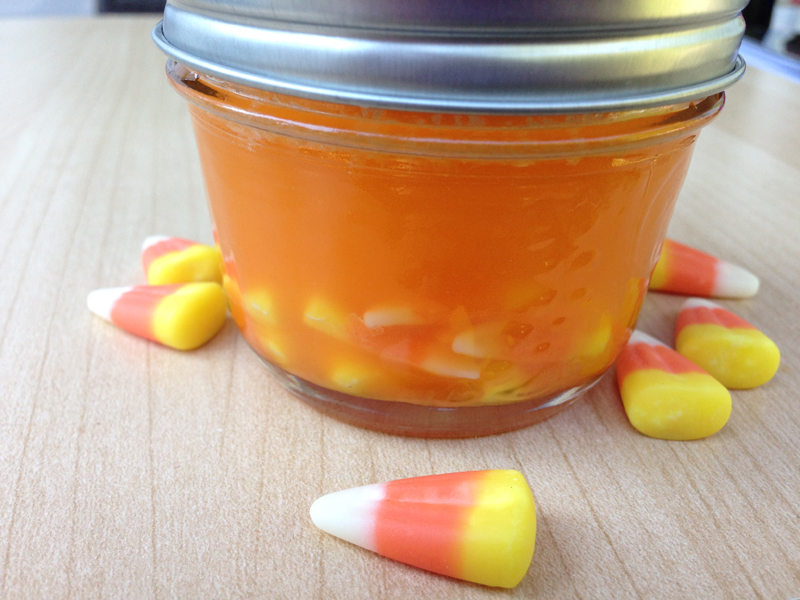
Ingredients:
1/2 cup Candy Corn Candies
1 1/2 cups Vodka
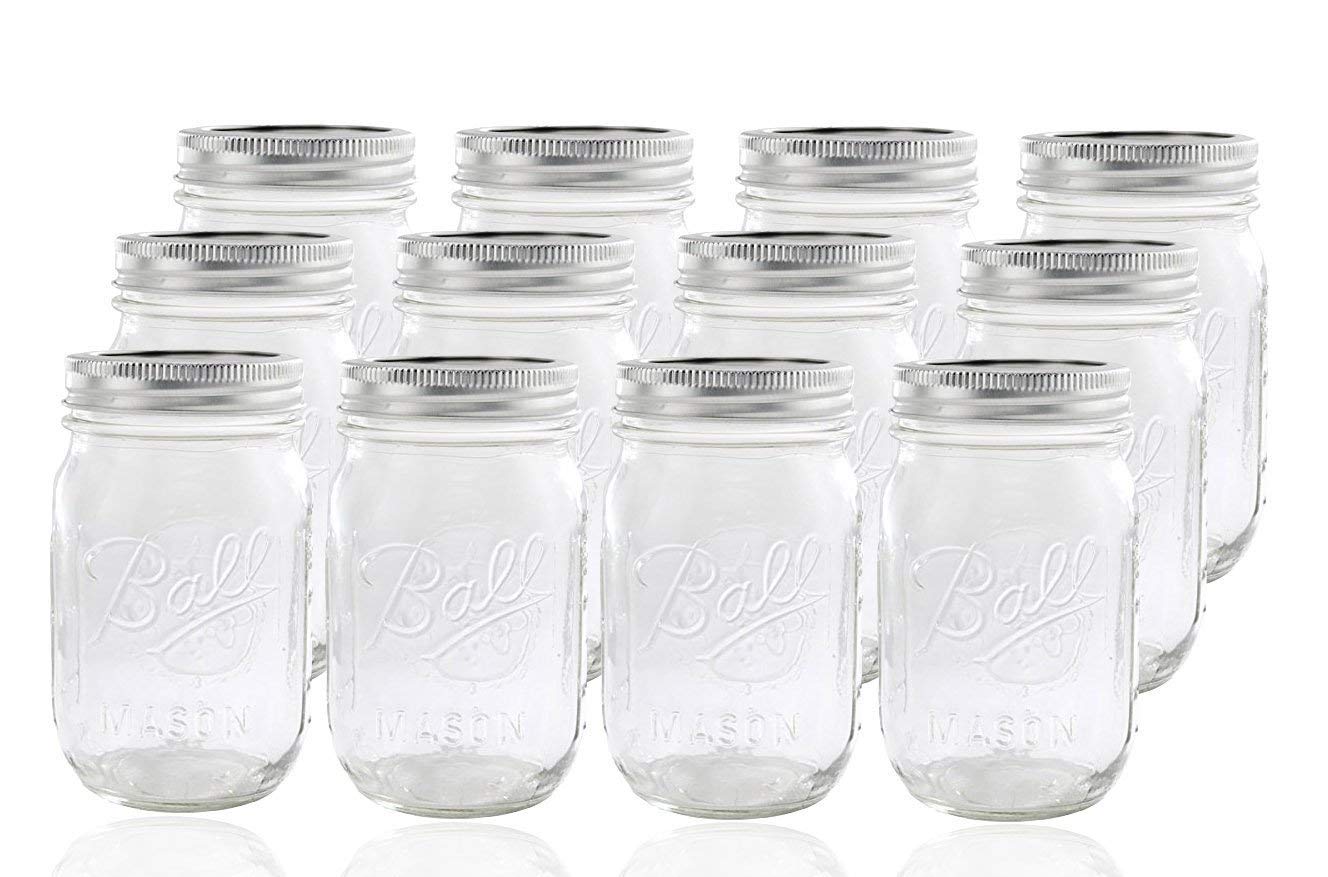
1 16 ounce or a Pint Mason Jar
Directions:
As we all know crafts are a ton of fun but by the end of the day of doing crafts with the kids I want a drink. This recipe is a make ahead drink that will come in handy for those long days when the kiddos are being crazy!
Lets start off with placing candy corn candies into the bottom of the mason jar. Simply pour the Vodka over the candies and screw on lid tightly.
Place the jar into a dark cupboard or pantry for one week, stirring every so often to mix.
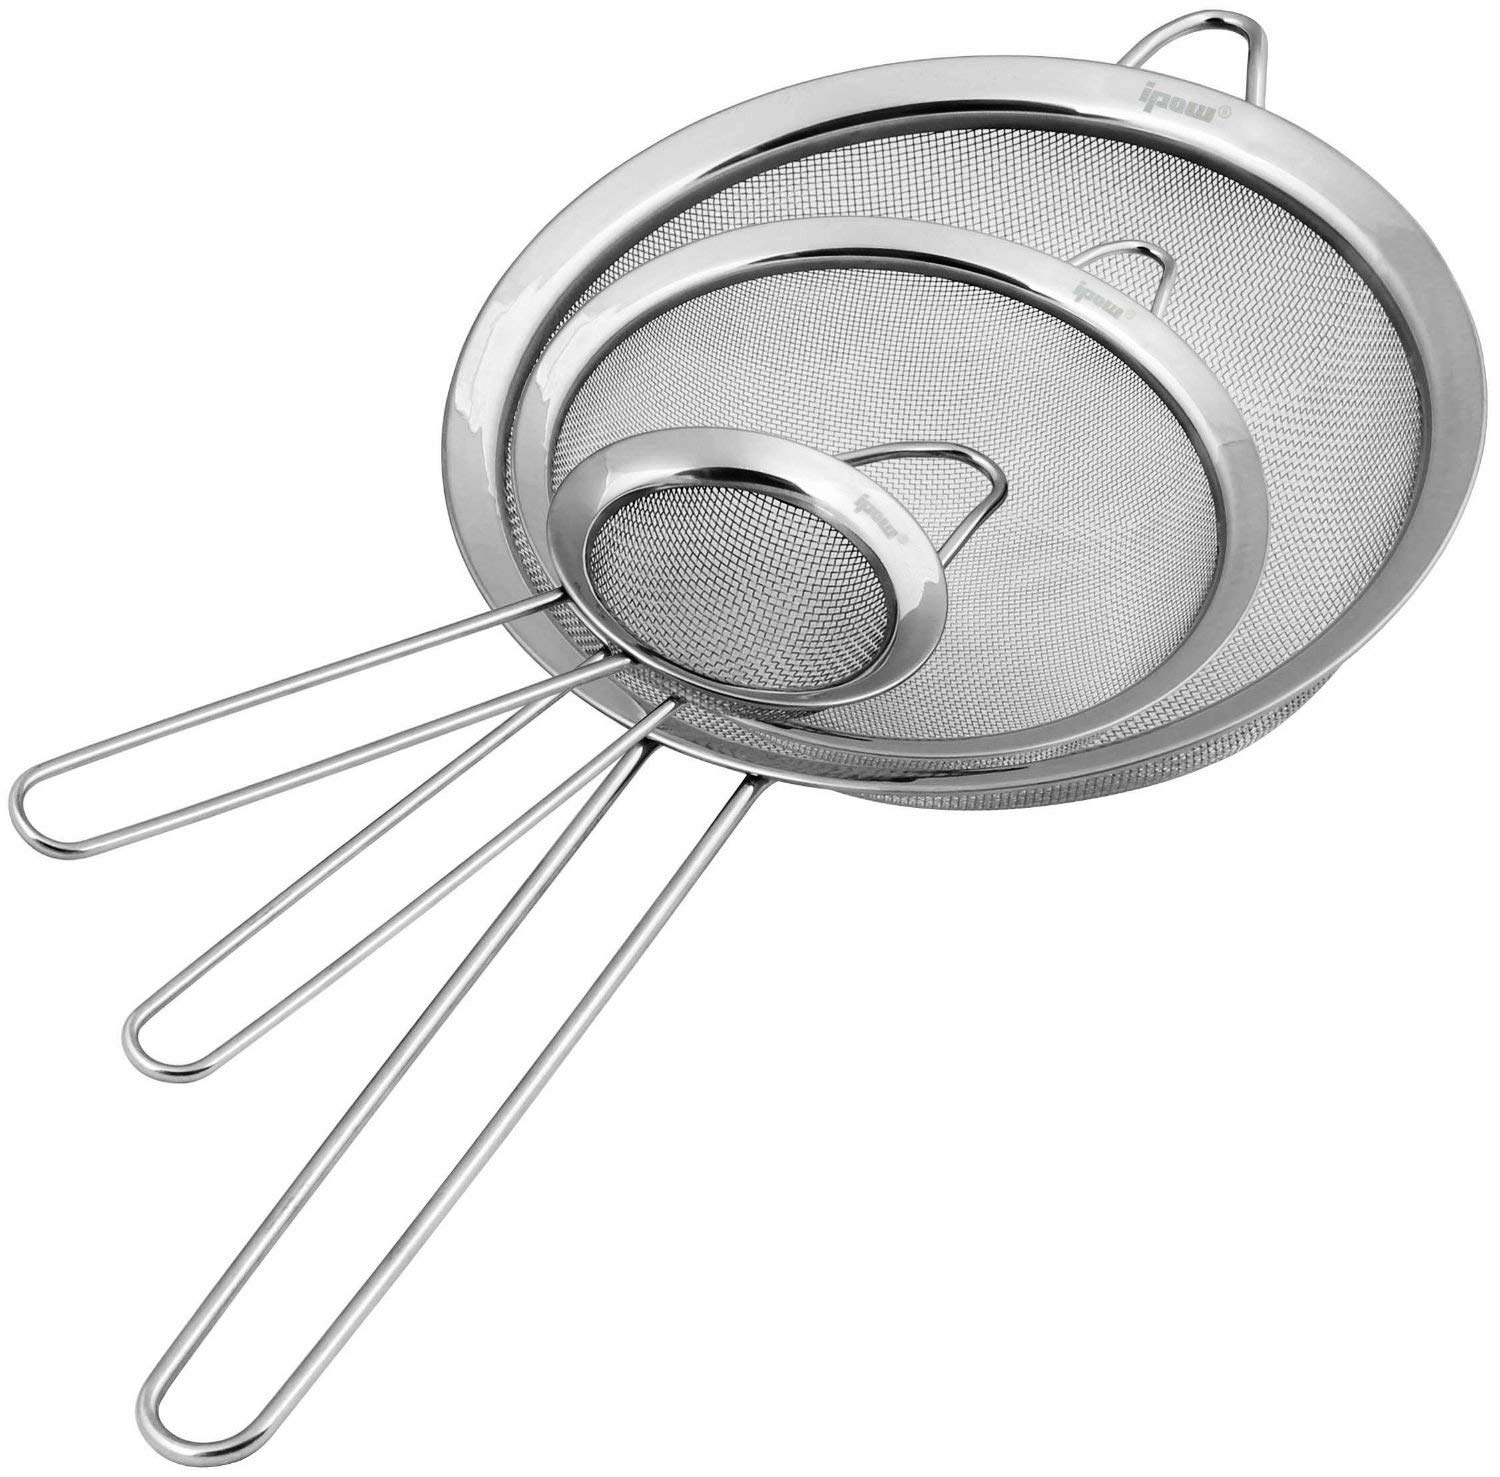
When the week is up pour contents of jar through a fine mesh strainer to get rid of any left over bits in jar. That’s it! You can either chill and serve straight or any other way you can think of! Enjoy!!
Kathy!
If you click on any of the links associated with this blog we will receive a small commission! Thank you for your continuous support!!! Happy Haunting!!
Be sure to follow our Facebook page! https://www.facebook.com/groups/quickandeasyglutenfreerecipes/
There are so many fun ways to use mason jars now a days! They aren’t just for canning anymore! I use mine for anything from canning, making fun drinks like the above recipe, to decorating. This time of year we are all getting into the spirit of decorating for the holidays pick up some mason jars and have the kids help turn them into fun fall decorations!! Click on the link to stock up!!
To strain the candy bits out of the drink you want to use a fine mesh strainer. I linked on here the one I used. They come in all different sizes for any application. These fine mesh strainers work great to make sure you wont get any bits in your yummy drink or if you need to sift flours or powdered sugar. If you don’t have any yet click on the link to snag some for your kitchen!!
Recipe 2: Candy Corn Popcorn Hands
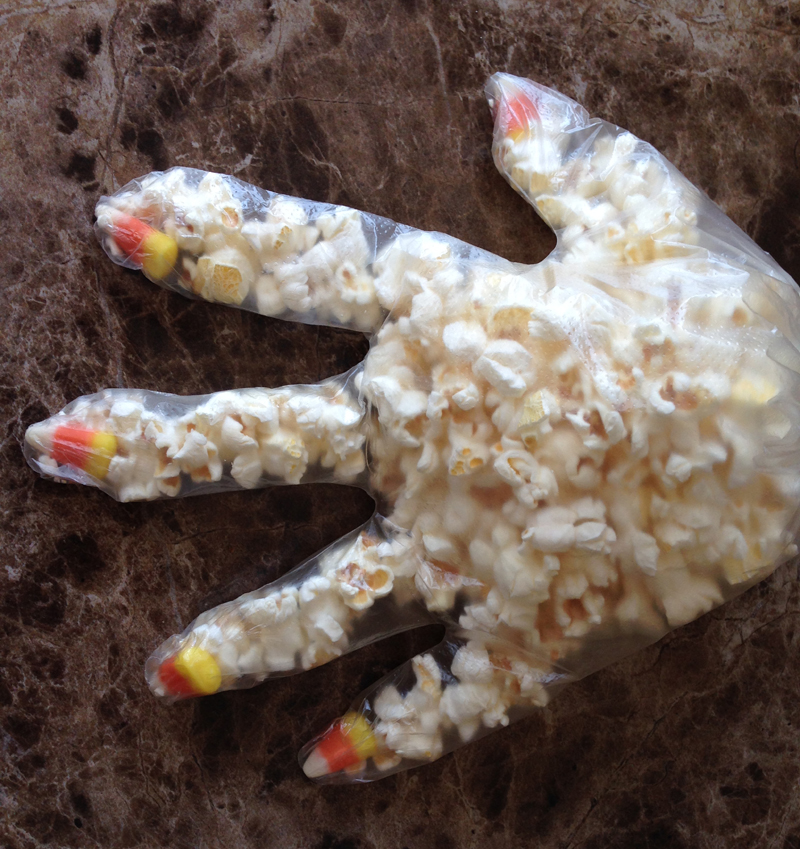
Ingredients:
Plain Popcorn or Kettle Corn
Candy Corn Candies
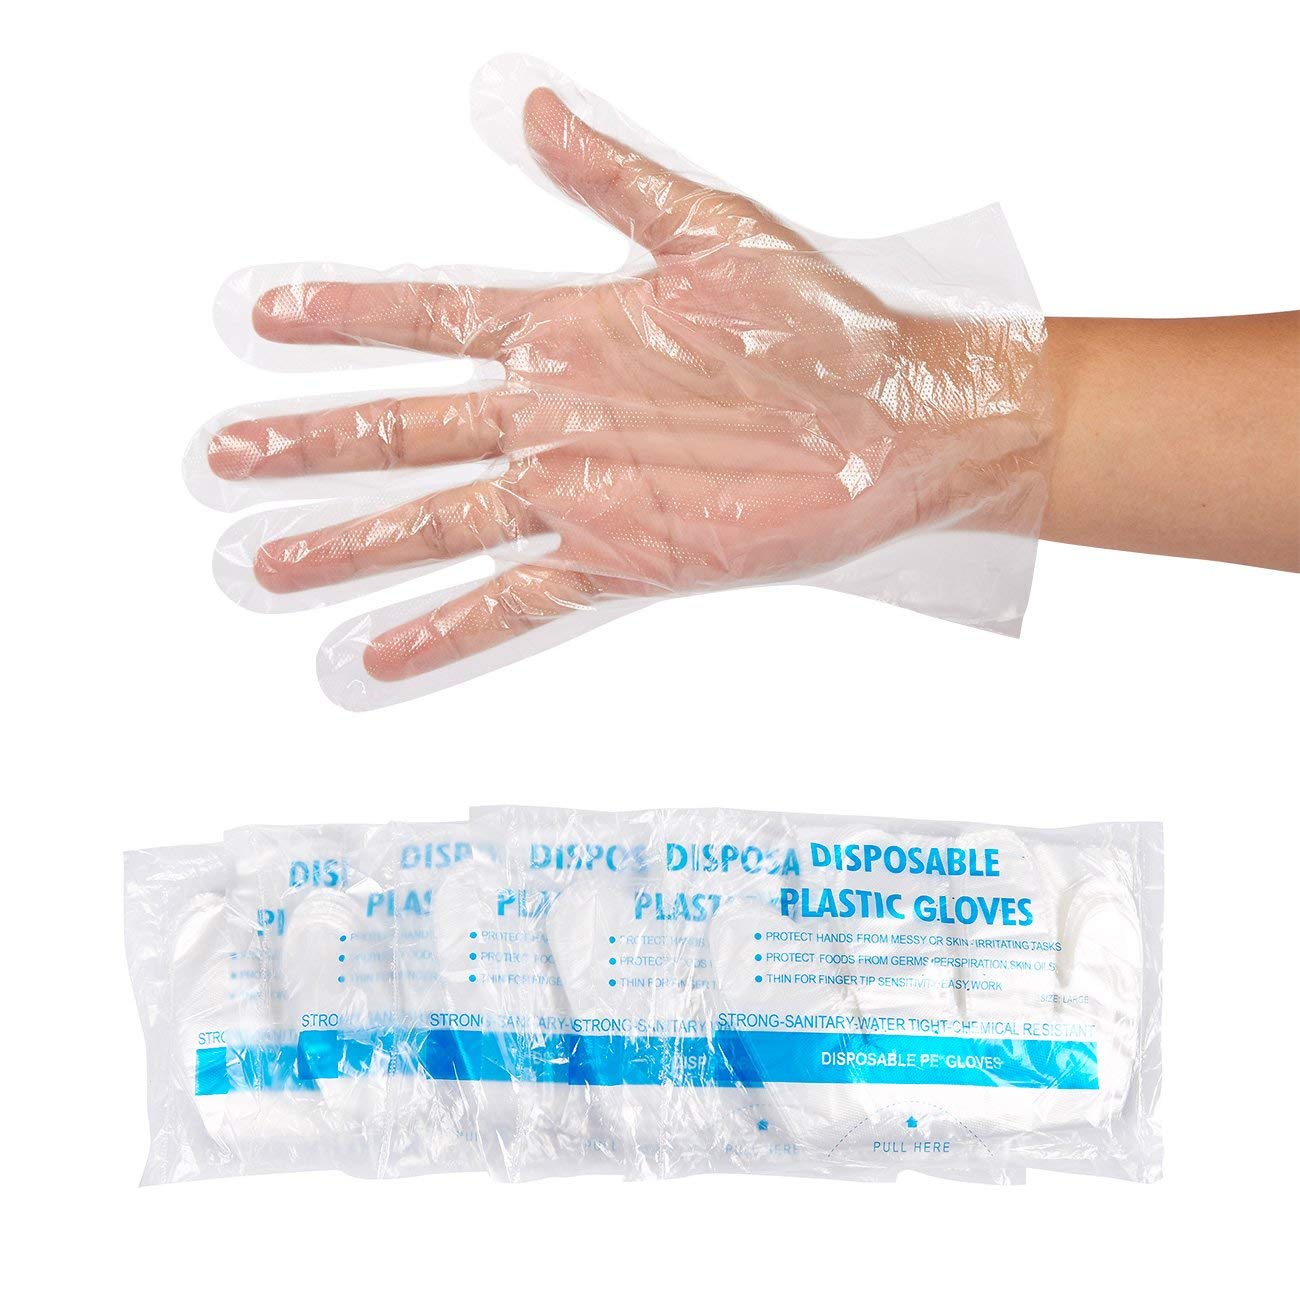
Clear Disposable Gloves
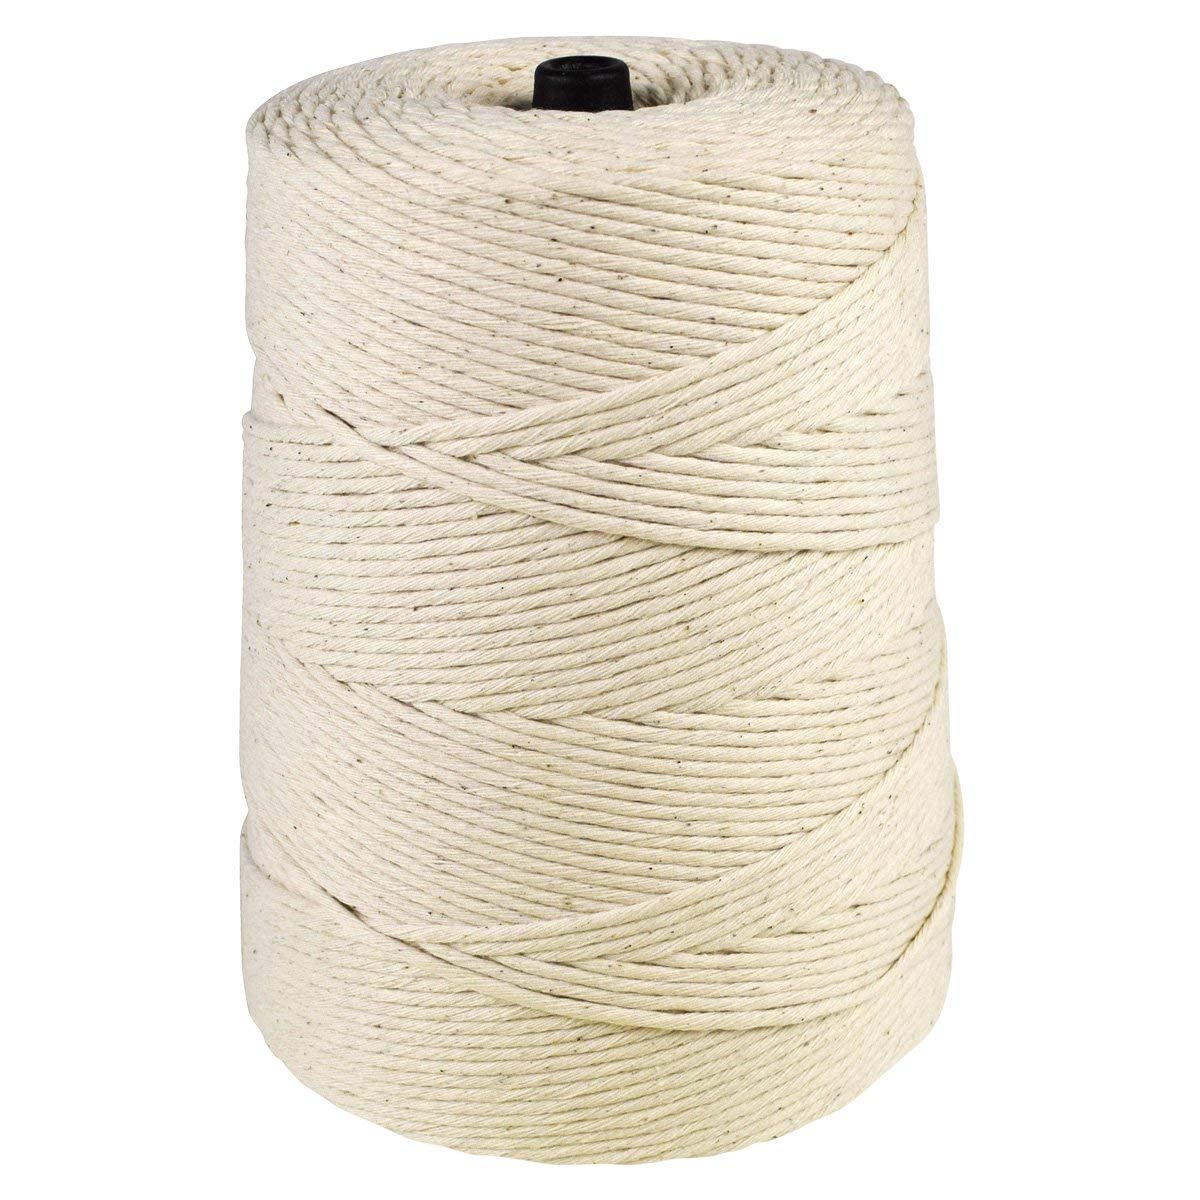
Twine or Twisty Ties
Directions:
This craft is super easy and uses things most people have laying around the house. Make sure to have the kiddos help you with this fun craft!
Start by taking the disposable gloves and dropping a candy corn into each finger of the the gloves. Take your popped popcorn and fill the inside of the glove. Making sure that the fingers get filled with popcorn (sometimes you have to shimmy it down there). Tie the bottom of the glove off with some twine or twisty ties to make sure the popcorn doesn’t fall out.
That its! Place them around a table for some fun snacks later or as decorations for a Halloween party either way you and the kids will have fun making these! Enjoy!!
Kathy!
If you click on any of the links associated with this blog we will receive a small commission! Thank you for your continuous support!!! Happy Haunting!!
Be sure to follow our Facebook page! https://www.facebook.com/groups/quickandeasyglutenfreerecipes/
For this recipe I used clear disposable gloves to make the hands. You can pick these up at your local greocery store or simply click on the link and it will pop you over so you can buy them. These gloves are latex and powder free so you don’t have to worry about allergies. Click on the picture or link and have fun making these!!
To tie the bottoms of the gloves I used butcher twine. I had a whole roll sitting in my cabinets and it worked perfectly! Butcher twine is mainly used to tie up things such us pork, chicken, and other meat when you stuff them. The roll I linked here has something like 425 yards so there will be plenty leftover for many other projects or recipes. Click on the link to snag some!!
Recipe 3: Candy Corn Candle Holders
What you need:
Candy Corn Candies
Glass Candle Holders
Tealight Candles or Flameless Tealight Candles
Directions:
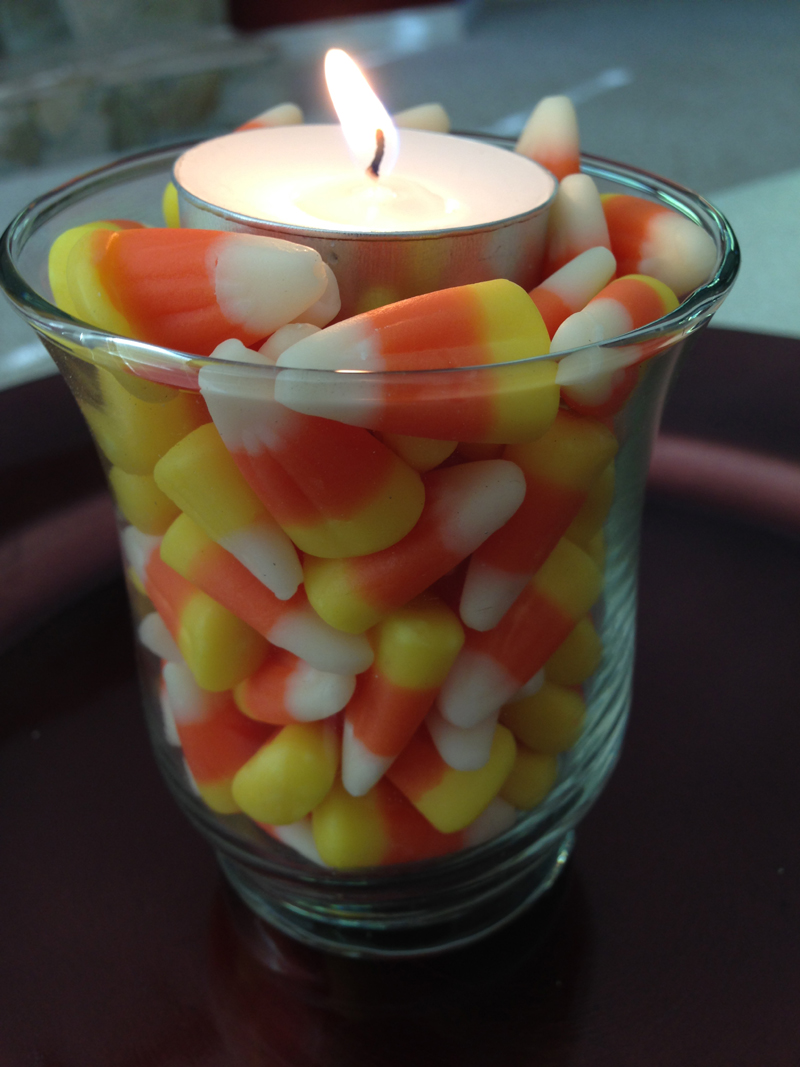
This craft is super simple and makes for some cute fall decorations!! Take the candle holder and pour in some candy corn candies till its just about full. Take your tealight candle and nestle it into the center of the candle holder. I used a real tealight but if your having the kiddos help you try using a flameless candle instead so they can help.
Enjoy!!
Kathy
If you click on any of the links associated with this blog we will receive a small commission! Thank you for your continuous support!!! Happy Haunting!!
Be sure to follow our Facebook page! https://www.facebook.com/groups/quickandeasyglutenfreerecipes/
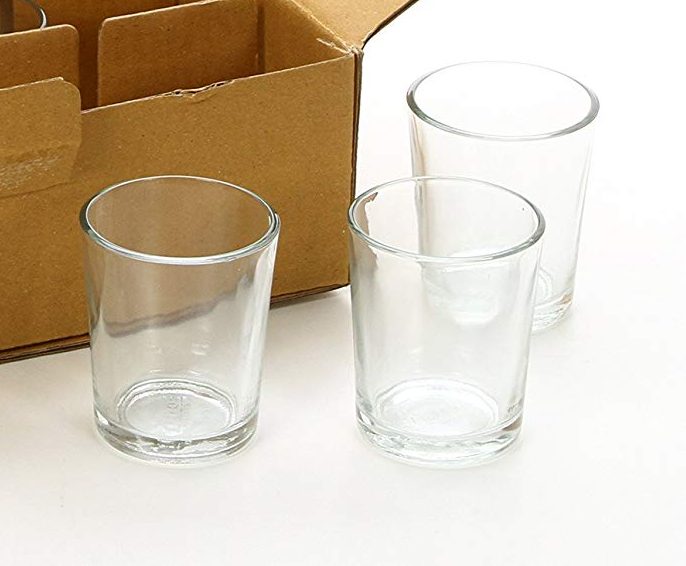
I had some candle holders laying around my house but if you don’t have any handy check out these candle holders. They will hold a good amount of candy corn and come in a 12 pack so you can make a bunch for around the house! Click on the link to snag some!!
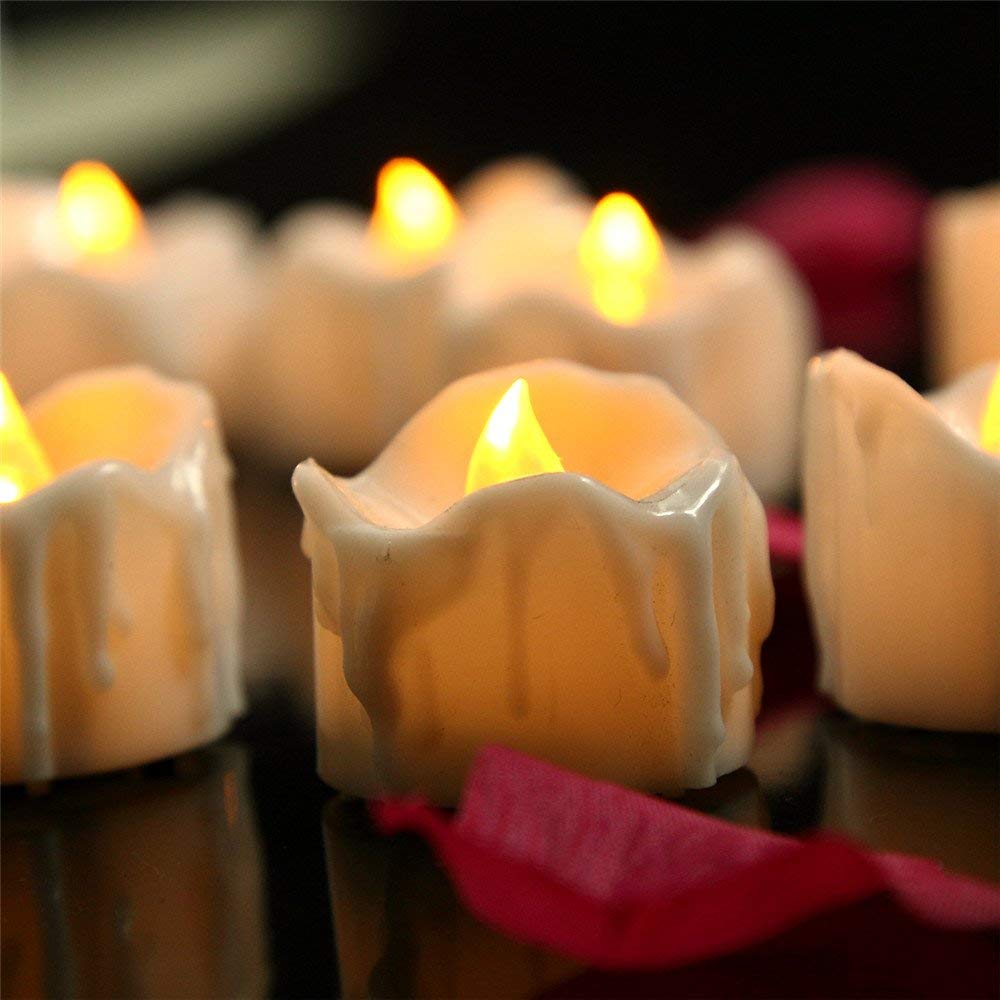
As mentioned above I used real tealight candles, but If the kiddos were helping me I would have used flameless tealight candles so they could help me make these cute fall decorations. The flameless tealight candles come in a 12 pack, its the perfect amount to go with the candle holders. These flameless tealight candles have a melted edge to make them look like really candles!! Click on the link and have fun making these!!
Recipe 4: Candy Corn Turkey Hands
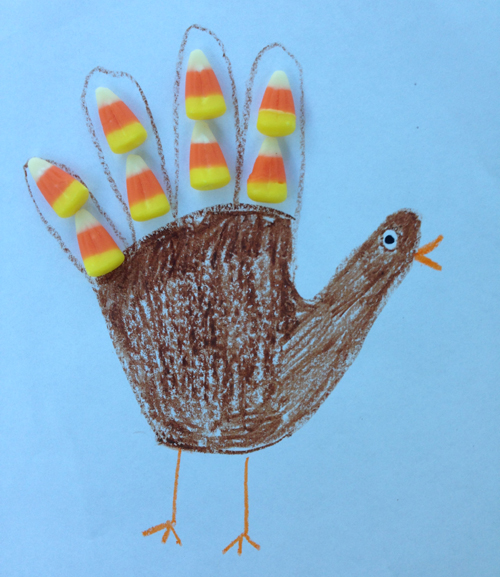 What you need:
Construction Paper
Crayons
Candy Corn Candies
Elmer’s Glue
Directions:
The kids had a blast doing this craft with me!! Place their hand or your hand on the center of the construction paper. Trace or help them trace along the outside of their hand to make an outline. Put a circle on the thumb for an eye and fill in the rest of the body with crayons.
Put a pupil in the center of the circle to finish the eye. Using a orange crayon draw legs and a beak on the turkey hand.
Take the candy corn candies and put a little bit of glue on the back side. Glue into the fingers of the turkey hand to create a feather look. Let dry and hang up as decorations!! Hope you have as much making these as we did!
Enjoy!
Kathy
If you click on any of the links associated with this blog we will receive a small commission! Thank you for your continuous support!!! Happy Haunting!!
Be sure to follow our Facebook page! https://www.facebook.com/groups/quickandeasyglutenfreerecipes/
Recipe 5: Candy Corn Pumpkin

What you need:
1 Small or Medium Sized Pumpkin
Hot Glue Gun
1 Package of Hot Glue Sticks
Directions:
To prepare your pumpkin for decorating you will need to clean and dry the surface of the pumpkin completely.
Let the hot glue gun heat up and insert a glue stick into the gun. Once heated squeeze a good amount, about a quarter sized dot, of hot glue onto the pumpkin and quickly place a candy corn onto glue. Repeat the last step until the entire pumpkin is covered or until your satisfied with the amount of candy corn candies on your pumpkin.
You can also make fun jack o lantern faces on your pumpkin by outlining eyes, nose, and a mouth first and then filling the rest of the pumpkin with candy corns. Make sure to place them in all different directions to make it look random or do a pattern its your pumpkin!!
Enjoy!
Kathy
If you click on any of the links associated with this blog we will receive a small commission! Thank you for your continuous support!!! Happy Haunting!!
Be sure to follow our Facebook page! https://www.facebook.com/groups/quickandeasyglutenfreerecipes/
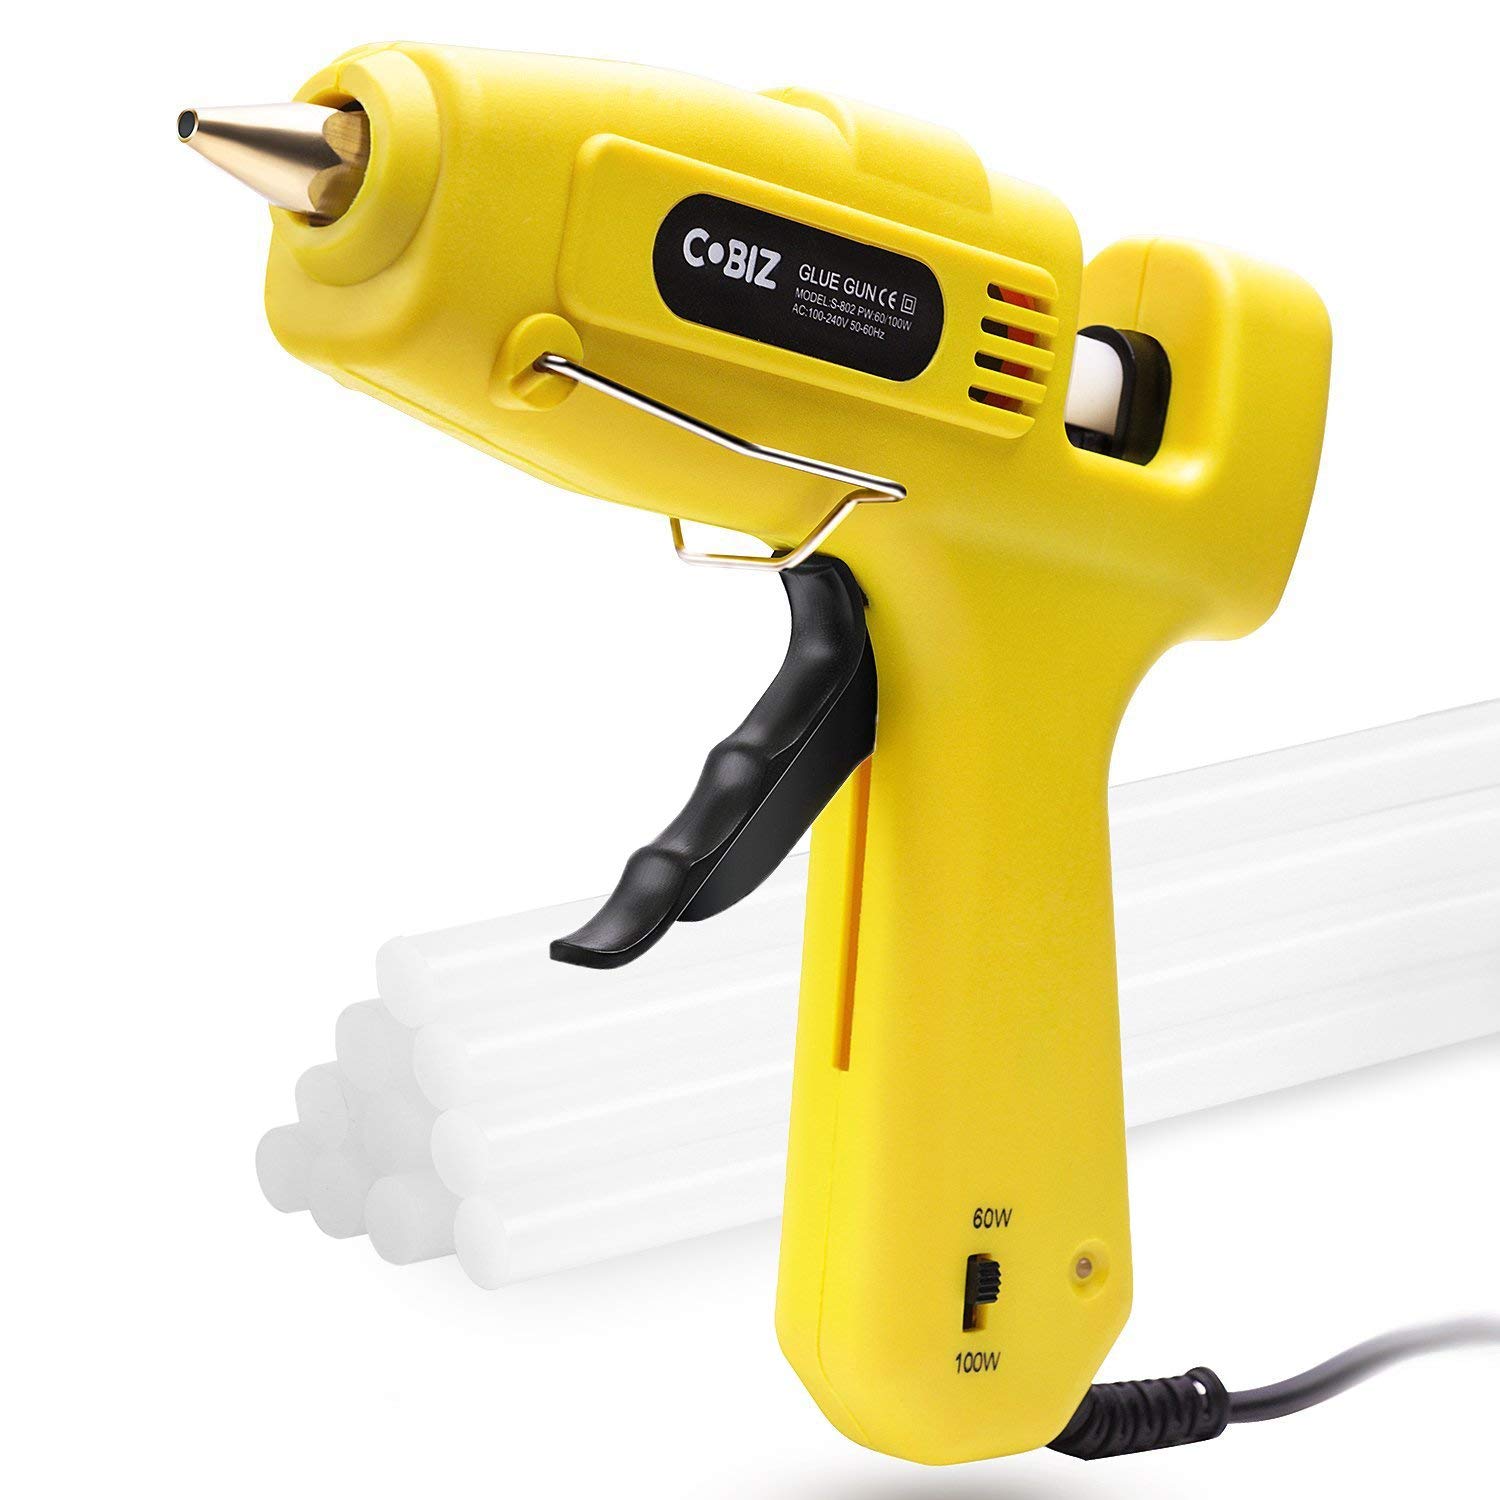
If you don’t have a hot glue gun around the house you need to click on the link and get one! They come in handy for so many things. The one I linked here takes less then 3 minutes to heat up and has two different power settings for your needs. I prefer the full sized hot glue guns simply because I have large hands so when I’m doing projects like the one above the mini ones make my hands cramp after a while of use. Click on the link and try the one out for yourself it comes with a few glue sticks as well!!
Recipe 6: Candy Corn Wreath

What you need:
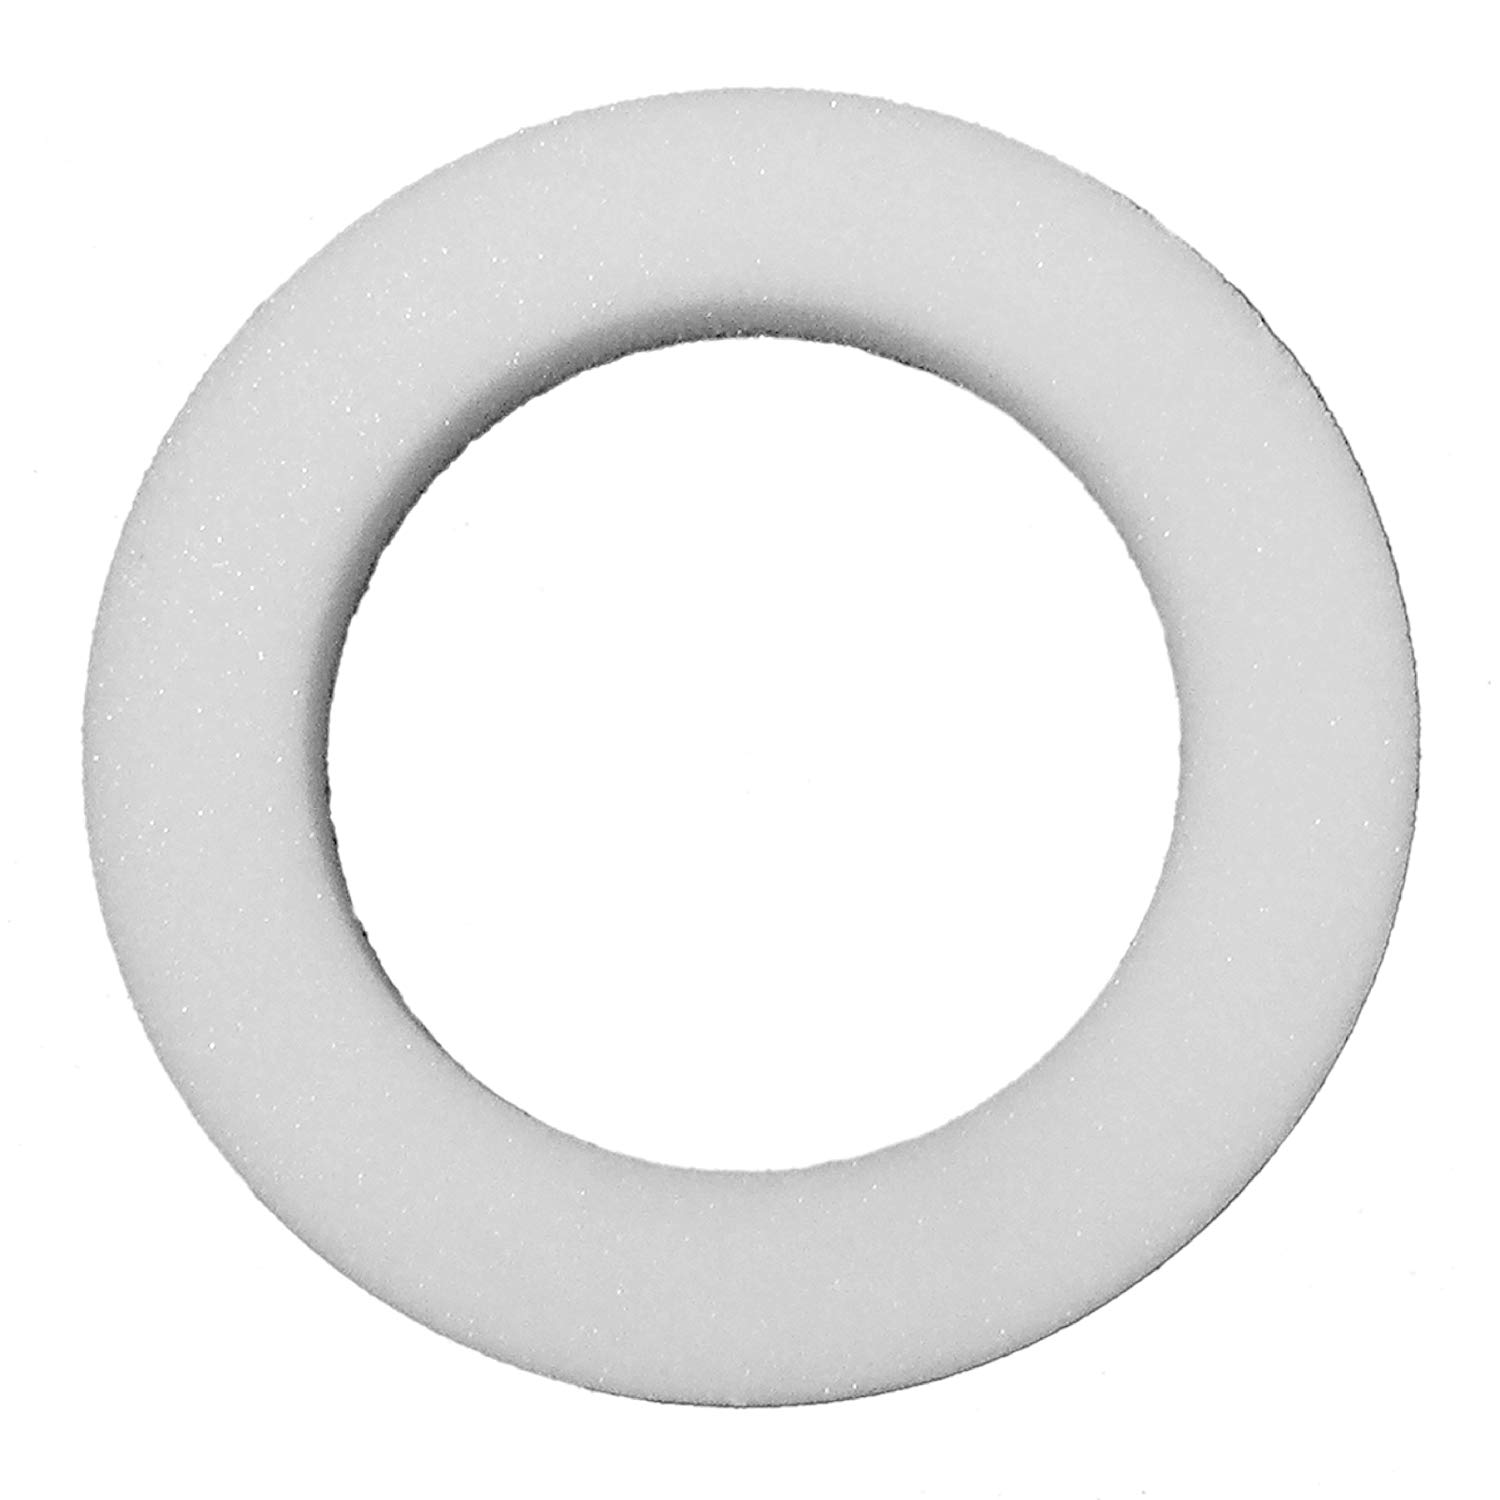
1 12 inch Flat Foam Wreath
Hot Glue Gun
Candy Corn Candies
1 1/2 Ribbon of your choice (I used a cream colored one I had around the house)
Directions:
When it comes to picking out a wreath for this craft you want to make sure you are picking one with a flat surface so your candy corn candies will adhere better.
Plug in your hot glue gun and let it warm up. Meanwhile, wrap your wreath with the ribbon of your choice. This will help your candies stick to your wreath better. Starting in the middle lay out the first row of candies around the wreath to figure out what pattern you want. I chose to do mine so it covered the entire wreath but you can space them out a bit to show the ribbon if desired.
Once you have picked your desired pattern start gluing the candy corn down using about a quarter sized glob of glue. Repeating until your wreath is completely covered. Make sure to watch the youngin’s around the hot glue gun!! Let dry for around 30 minutes or until no longer tacky.
Using the same ribbon string it through the wreath and tie at the ends! Hang and enjoy the fun decoration you just made!!
Kathy
If you click on any of the links associated with this blog we will receive a small commission! Thank you for your continuous support!!! Happy Haunting!!
Be sure to follow our Facebook page! https://www.facebook.com/groups/quickandeasyglutenfreerecipes/
If you don’t have a hot glue gun around the house you need to click on the link and get one! They come in handy for so many things. The one I linked here takes less then 3 minutes to heat up and has two different power settings for your needs. I prefer the full sized hot glue guns simply because I have large hands so when I’m doing projects like the one above the mini ones make my hands cramp after a while of use. Click on the link and try the one out for yourself it comes with a few glue sticks as well!!
Make sure for this craft that you are using a foam wreath that is flat. I have linked on here one that is similar to the one I used for this craft. These can also be found at somewhere like Micheal’s or Joanne’s. Hopefully you will have as much fun as we did making this wreath!! Click on the link to check it out!!


Leave A Response