Put on the sunglasses! It’s time to dazzle everyone with your snazzy gluten free chocolate creations.
Working with Chocolate
When you are melting your chocolate keep these things in mind. If you are using a double boiler, make sure you keep your chocolate dry. Do not allow any water or liquid to get into the double boiler where the chocolate will be. The chocolate will not melt smoothly if liquid gets in while you are heating it.
For microwave melting, use a microwave safe container and place your chocolate in that. Melt the chocolate on low heat and in 15 second intervals, stirring between each one until the chocolate is melted and smooth.
Chocolate burns very easily so make sure you melt LOW and SLOW!
To chop chocolate into pieces, use a chef’s knife and a cutting board to break it up into little pieces. If you are going to be cooking with chocolate a lot, you may want to invest in a chocolate chipper tool which is used specifically to break up chocolate into small pieces.
Your chocolate should feel barely warm when it is melted. It should not be hot to the touch.
Let’s Party Chocolate Finishes
It is fun to dress up your gluten free chocolate creations. Use these techniques to not only dress up these desserts, but any others that you make or buy.
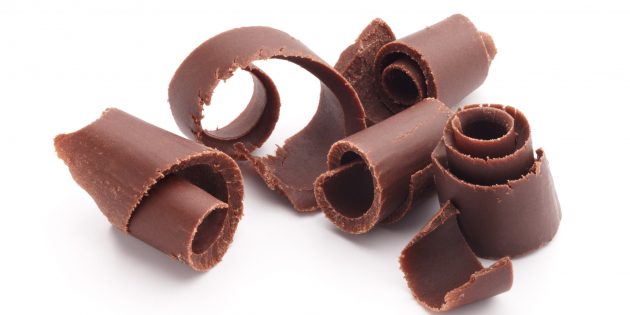
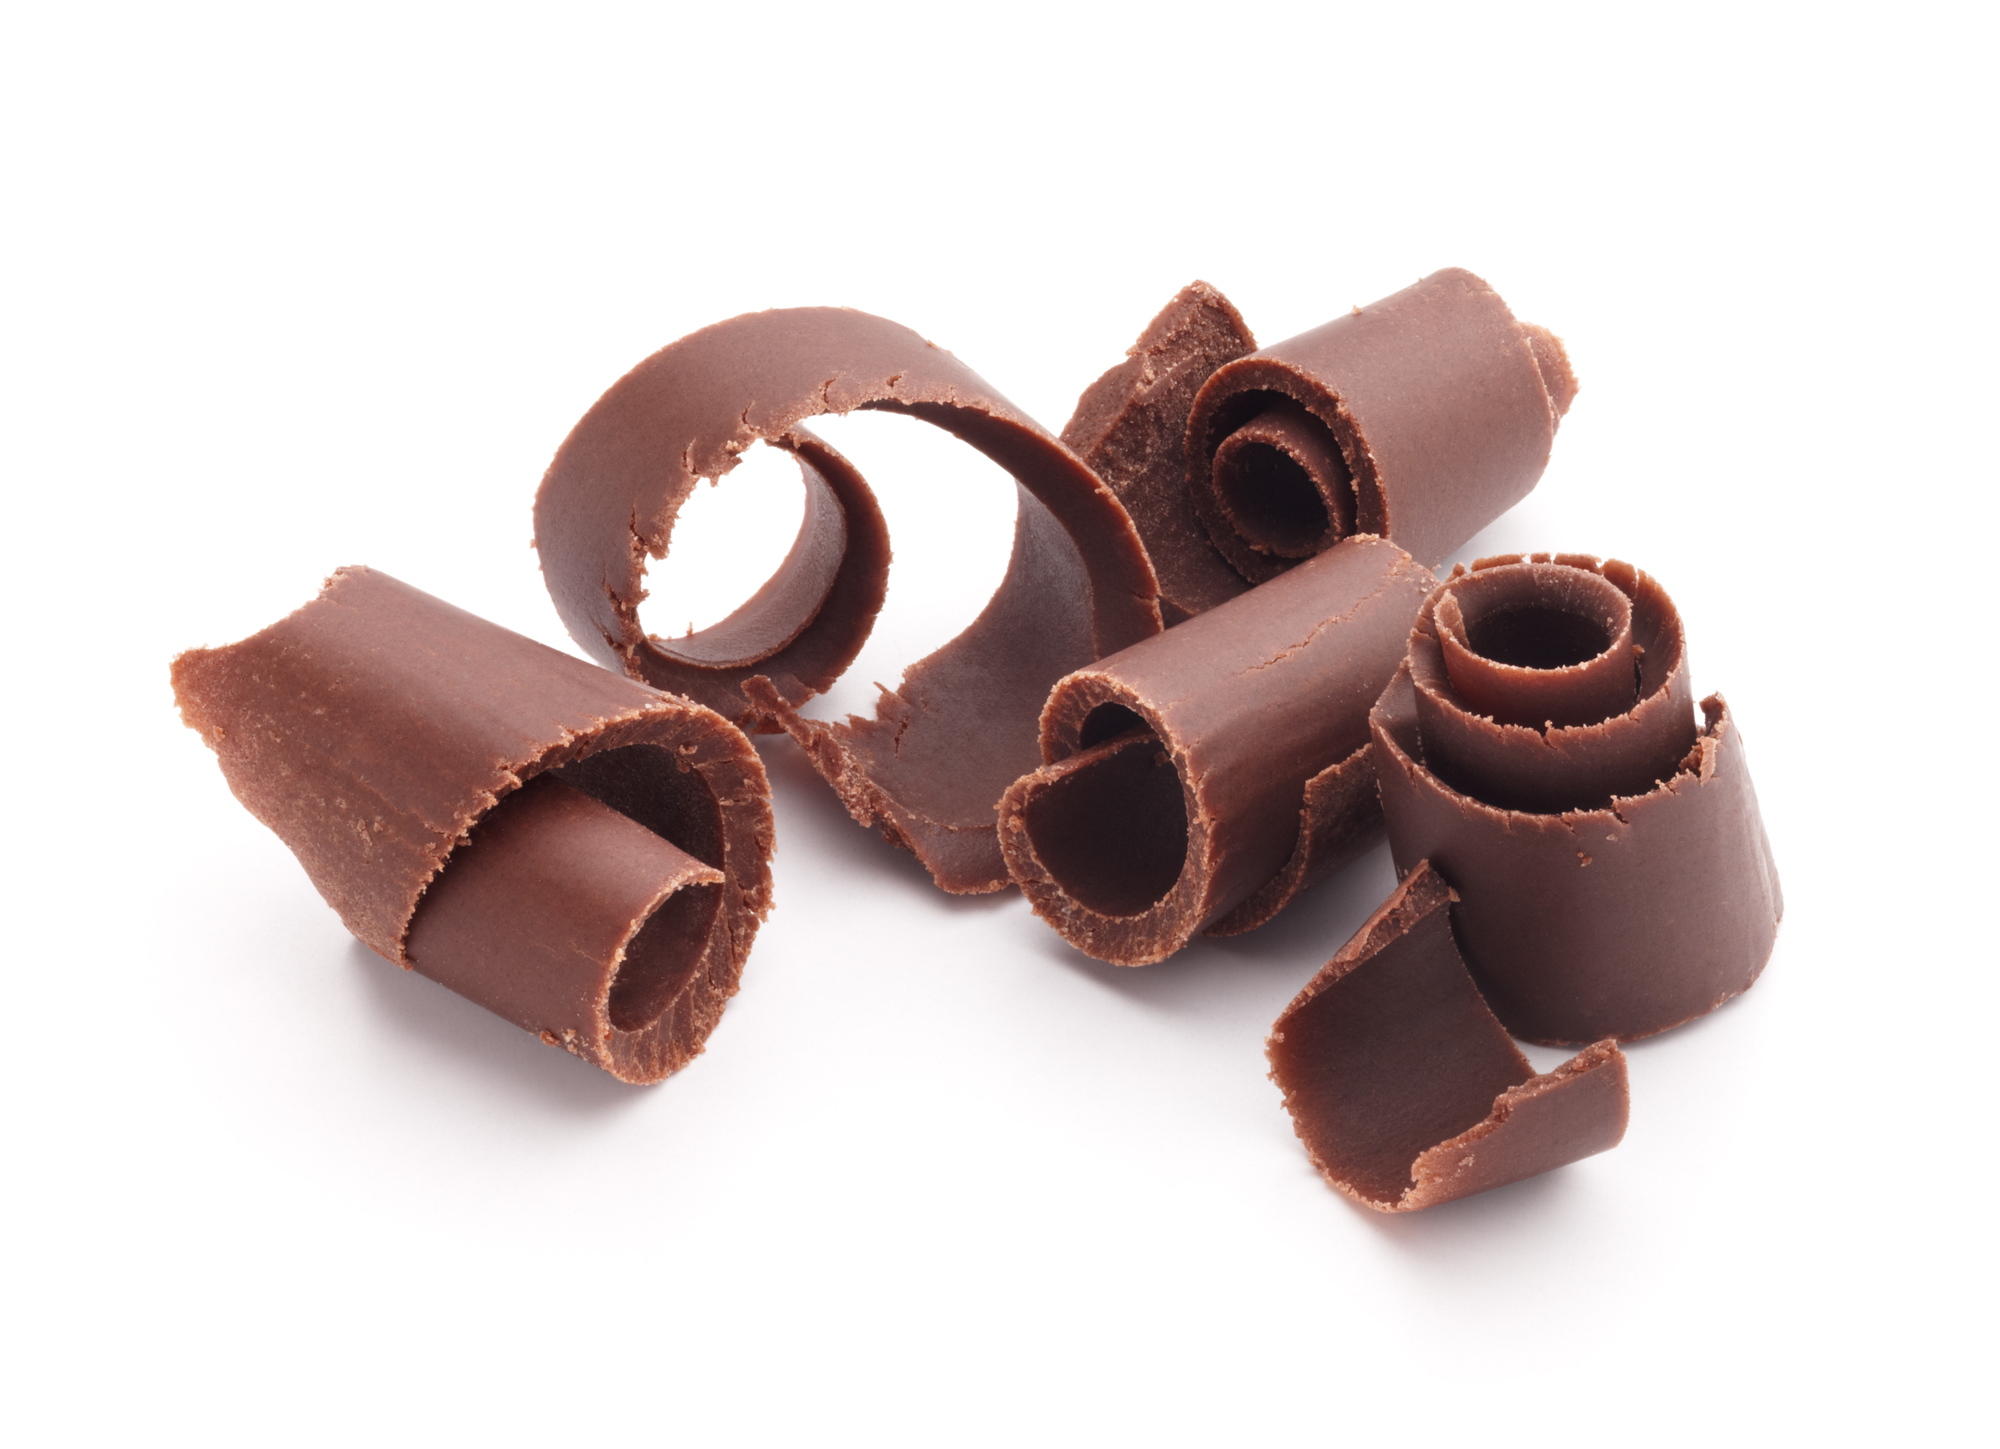
Chocolate curls
Using a gluten free chocolate bar, take a vegetable peeler and pull it across the long edge of the chocolate for narrow curls or across the top of the bar for wider curls.
Shaved chocolate
Take a sharp knife and scrape it across the edge of a gluten free chocolate bar to make small shavings. Do this over a piece of parchment paper so you can pick it up and either shake it on to of your dessert or place it in a bowl to use.

Chocolate leaves
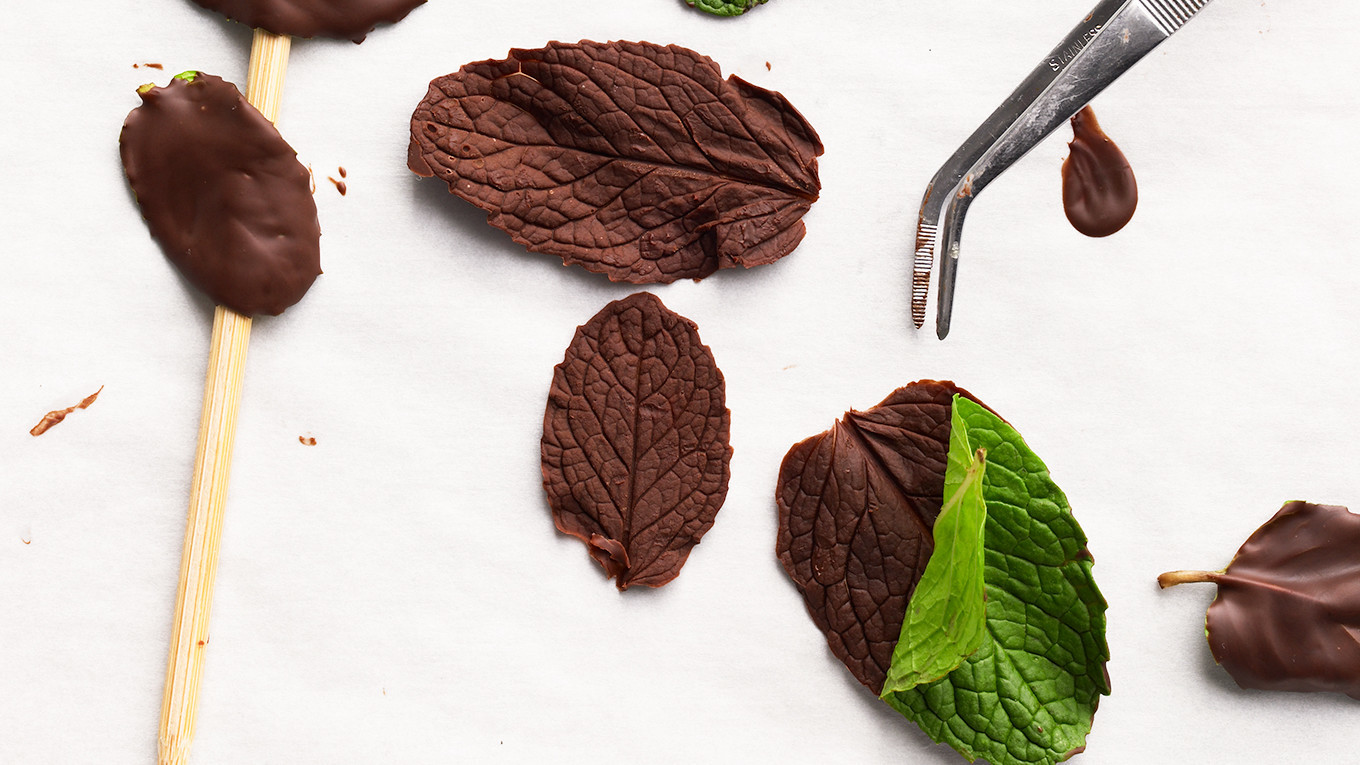
Wash and dry non-toxic leaves ( like citrus leaves) and set aside. Melt the gluten free chocolate of your choice. Using a small pastry paint brush ( you can buy these through Wilton) dip the brush in the chocolate and paint it onto the leaves until the leaf is completely covered.
Refrigerate until firm. Gently peel the leaf away from the chocolate and set the chocolate leaf on to a piece of parchment paper. If you will not be using them right away, go ahead and refrigerate. When you are ready to use, place them on your dessert.
Stencils
You can use paper doilies, stencils from craft stores or stencils you make yourself. Lay the stencil on the top of your dessert and gently sprinkle it with cocoa powder or powdered sugar.. Carefully lift up the edge of the stencil and remove. The cocoa or powdered sugar should leave the stencil design on top. Very simple, very effective.
Chocolate drizzle
Melt two types of gluten free chocolate in separate bowls. Take a spoon and dip into one of the chocolates. Drizzle with a back and forth motion over the top of the dessert. Using another spoon, do the same with the other chocolate. Allow to set up before moving.
Caramel
Take a jar of gluten free caramel sauce and drizzle just the same as the instructions for the chocolate drizzle.
Brittle
You can either make your own brittle or buy a gluten free brittle. Break up into small pieces and place on top of your dessert. Looks really nice as a cake topping.
Cut up candy
Use gluten free candies and cut up into chunks or bits and sprinkle over the top of your desserts. You can also press it onto the sides of a cake or roll iced cookie edges into the candy to coat.
Whipped topping or whipped cream
Sometimes just topping with whipped cream that is dusted with cocoa powder is all you need for a very elegant and delicious topping for your desserts.
Now go have some fun in the kitchen 🙂
Kathy Addis
ps…. we all need to eat our daily serving of chocolate.
Chocolate leaves photo courtesy of Martha Stewart.


Leave A Response