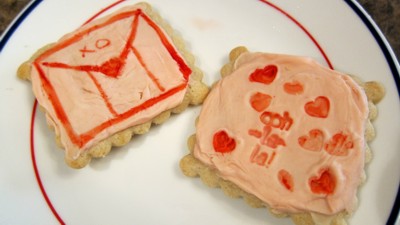
Have fun this Valentine’s Day by “painting” your cookies.
That’s right. Take out some brushes, grab a palette or two, pull out some food coloring while you’re at it and get painting. You can also use stamps to put a pattern on your cookies. Just make sure you clean them real good or use brand new ones! This has got to be one of the most fun ways to decorate cookies since sprinkles!
Gluten Free Valentine’s Day Cookies
This is what you need:
Small natural bristle brushes, the finer the tip the better (Please use new brushes)
A palette for mixing your colors, a small plate will do the trick
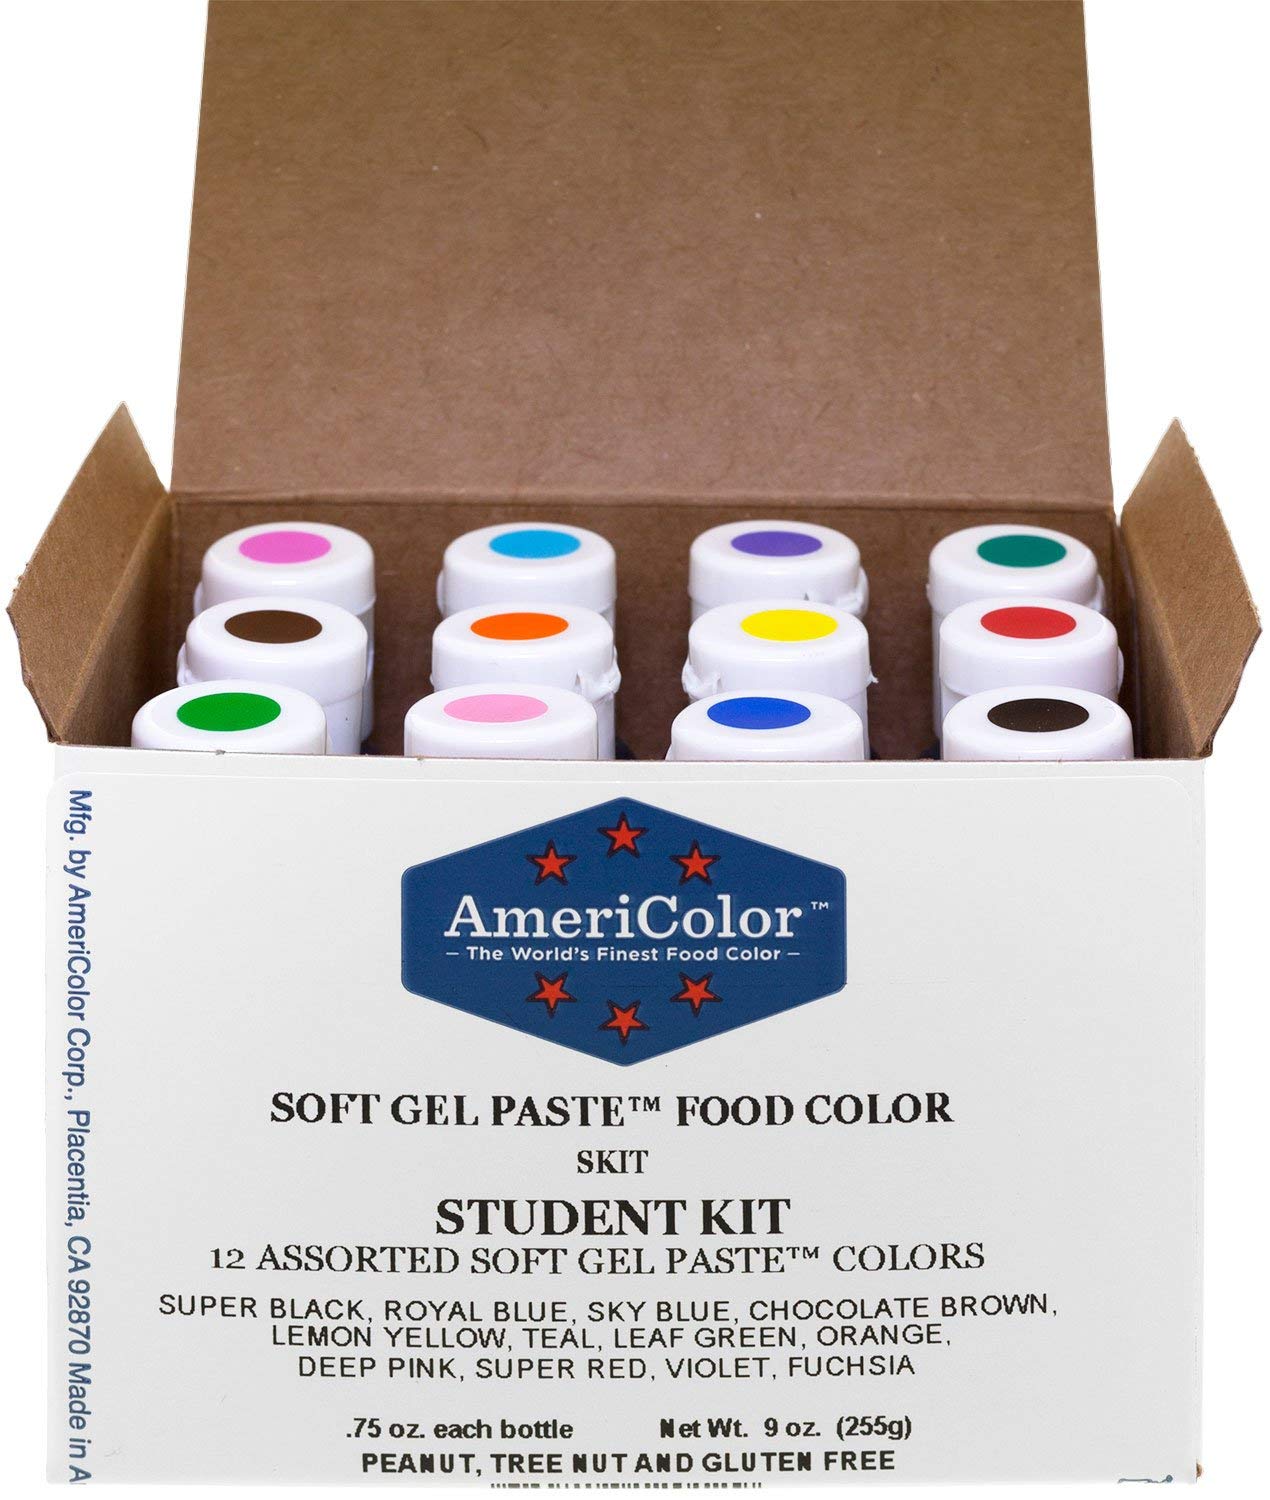
Paste food colors
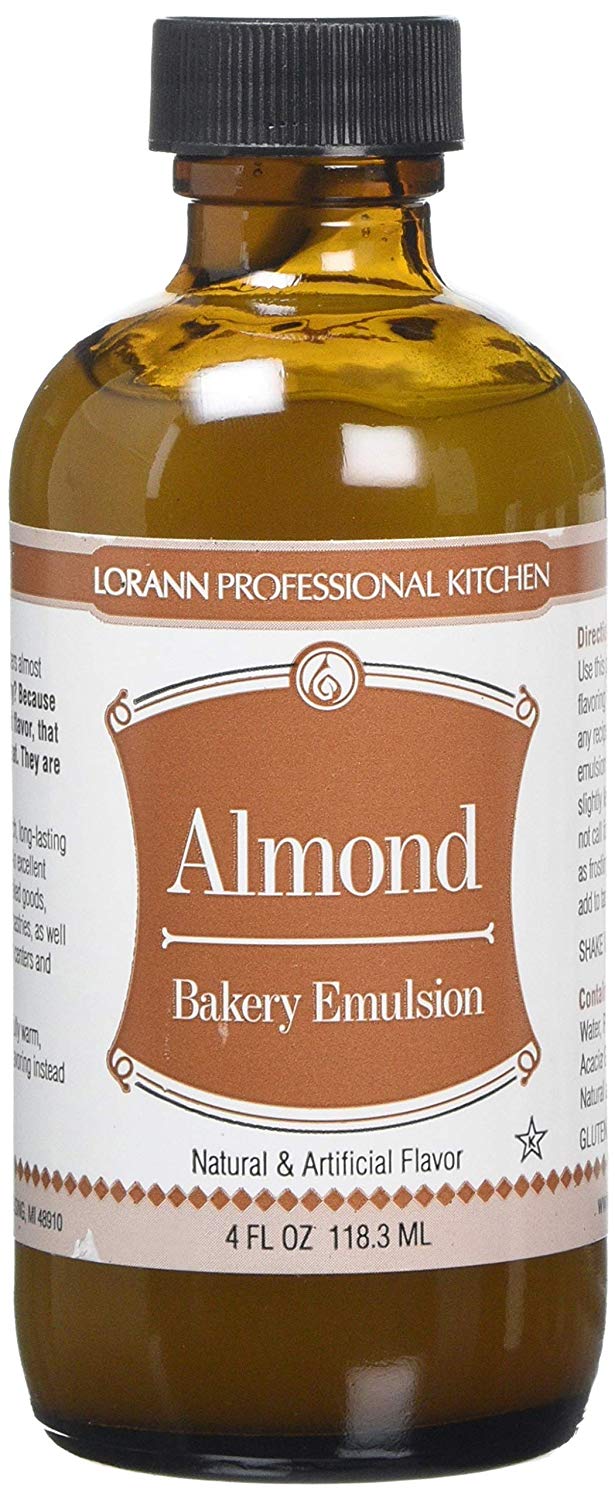
Almond extract or Almond Emulsion
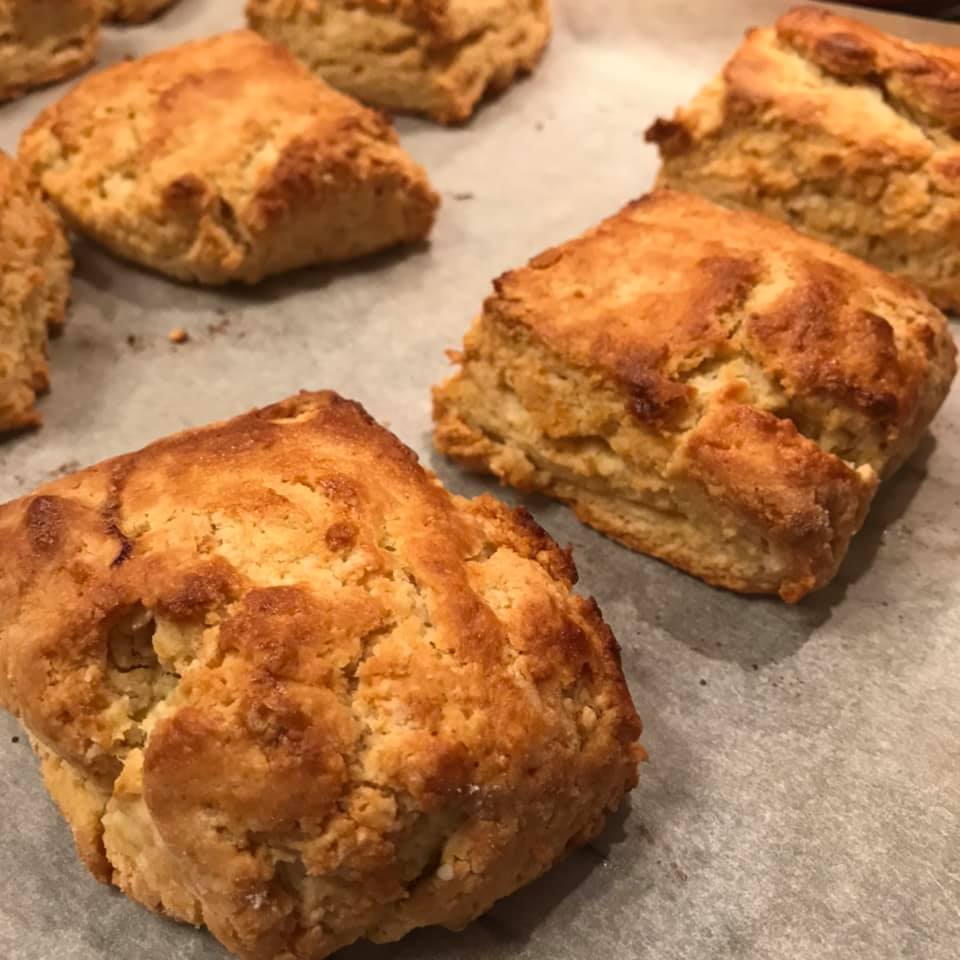
Pre-baked gluten free cookies (homemade or store bought)
Frosting of choice
Toothpicks
Directions:
Frost your cookies and set aside to allow them to harden. You want to able to smooth out the frosting with your fingers and not get all sticky. This may take about 20 to 30 minutes, so do this first and then gather the munchkins to help. I tinted my frosting pink as shown in the photo.
Now you’re ready to paint.
Make sure you have cleaned your brushes before you begin. Please use new brushes. Later you can label these as “for food painting only” so you don’t get them mixed up with any other brushes you may have.
Place a small amount of almond emulsion on the plate. Squirt ONE drop of food coloring paste into the middle of the almond emulsion. Use your brush and swirl the food coloring into the emulsion until it dissolves. Using a toothpick do a small drawing of the design you want on the cookie just to get it straight in your mind. If you mess up and don’t like what you’ve done, just scrape off the frosting and start again.
Pick up the “paint” with the tip of the brush and start painting your design. When you’re done, set it aside and allow it to dry.
If the “paint” starts to dry out add a little more almond emulsion and keep going.
Now, food coloring stains pretty bad, so I recommend using glass, ceramic or metal so it doesn’t stain your dishes. No plastic here. Or you can use paper plates since they will be thrown away.
To use stamps, make sure it’s a small one. I tried to use large designs but they didn’t work with regular butter cream frosting. You would need to use Royal Icing instead to get a very smooth and hard finish. I was just to lazy to make it that day. I will try it soon though.
Again, pick up the “paint” on your brush and coat the rubber part of your stamp and then gently push it onto your cookie. If the design doesn’t color completely you can fill it in with your paint brush.
The stamps make a nice impression to fill in. I used a small heart stamp to “seal” my envelope with a kiss.
You can use this idea for any holiday or birthday. Go wild and have fun. I hope to see lot’s of painted cookies soon.

I taught this technique at my last cooking class and had a young helper do this with me. Then we packaged the cookies and added ribbon for a cute gift.
So go have some fun, and get painting!
Enjoy!!
Kathy
If you click on any of the links associated with this post we will receive a small stipend!! Thank you for keeping me posting!!
For super amazing food coloring that has beautiful color you have to try the AmeriColor Food Coloring! This pack of 12 different colors is some of the best food coloring I have ever tried! Most others I’ve used take almost the whole bottle to change the color of icing, dough, or anything else really. I linked on here is one of the packs I started out with and it pretty much has every color you need!! Click on the link or picture to check it out!!
You have to try this Almond Emulsion instead of Almond Extract! I have been using this brand for years now and people are always asking me why my desserts taste so amazing and I tell them they have to try LorAnn Oils Almond Emulsion it is so much richer and enhances the flavor in everything I use it in! Liquid gold ill tell you!


Leave A Response