
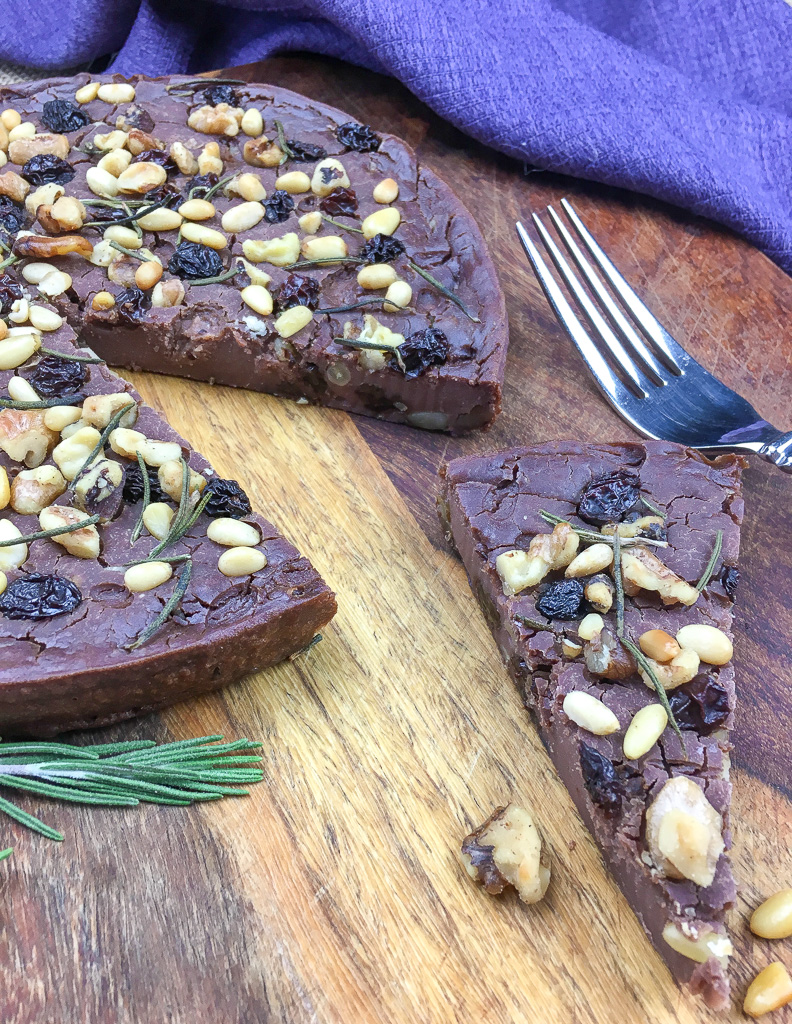
Castagnaccio – Traditional Tuscan Gluten Free Chestnut Flour Cake
This traditional rustic Tuscan gluten free chestnut flour cake is usually served in the fall and winter months following the annual chestnut harvest. It features a deep, rich, earthy flavor quite unlike typical cakes and desserts found elsewhere.
In fact, classic versions of this recipe do not include any form of sugar or other sweetener. Instead, they rely on the addition of dried fruit and chestnut flour to impart a bit of sweetness. Here, a little honey is added to offset the stronger flavors. Even so, you may find castagnaccio is a bit of an acquired taste if you prefer more sugary treats.
Tip: For best results, sift the chestnut flour before using. If you don’t have a flour sifter, add chestnut flour to a small fine mesh strainer and gently shake over the mixing bowl to remove any clumps.
Prep time: 15 minutes
Cook time: 30-35 minutes
Serves: 8-10
Ingredients:
1/3 c. raisins, divided
2 T. fresh rosemary leaves
3 c. chestnut flour, sifted
1 2/3 c. lukewarm water
2 T. honey*
2 T extra virgin olive oil
¼ c. chopped walnuts, divided
¼ c. pine nuts, divided
*Honey is optional. Use more or less honey depending on level of sweetness desired.
Directions:
Soak raisins and rosemary leaves in a small bowl of lukewarm water. Set aside.
Position oven rack to center position. Preheat oven to 350°F and grease a 9” pie pan with olive oil or non-stick cooking spray. Set aside.
In a large bowl, combine chestnut flour, water, honey, and olive oil with a fork. Continue stirring until a smooth batter forms. If batter is too thick, add another tablespoon or two of water to thin slightly.
Drain raisins and rosemary leaves and pat dry. Add half of the raisins, walnuts, and pine nuts to batter and stir to combine.
Pour batter into prepared pie pan and spread with a spatula to form a smooth, uniform layer. Evenly distribute rosemary and remaining raisins, walnuts, and pine nuts on top of batter.
Place pan in pre-heated oven and bake for 30-35 minutes or until the top is dried and starting to crack.
Remove from oven and cool slightly before cutting into thin slices and serving.
Enjoy!
Kathy
If you click on any of the links associated with this blog we will receive a small commission! Thank you for keeping me blogging!!
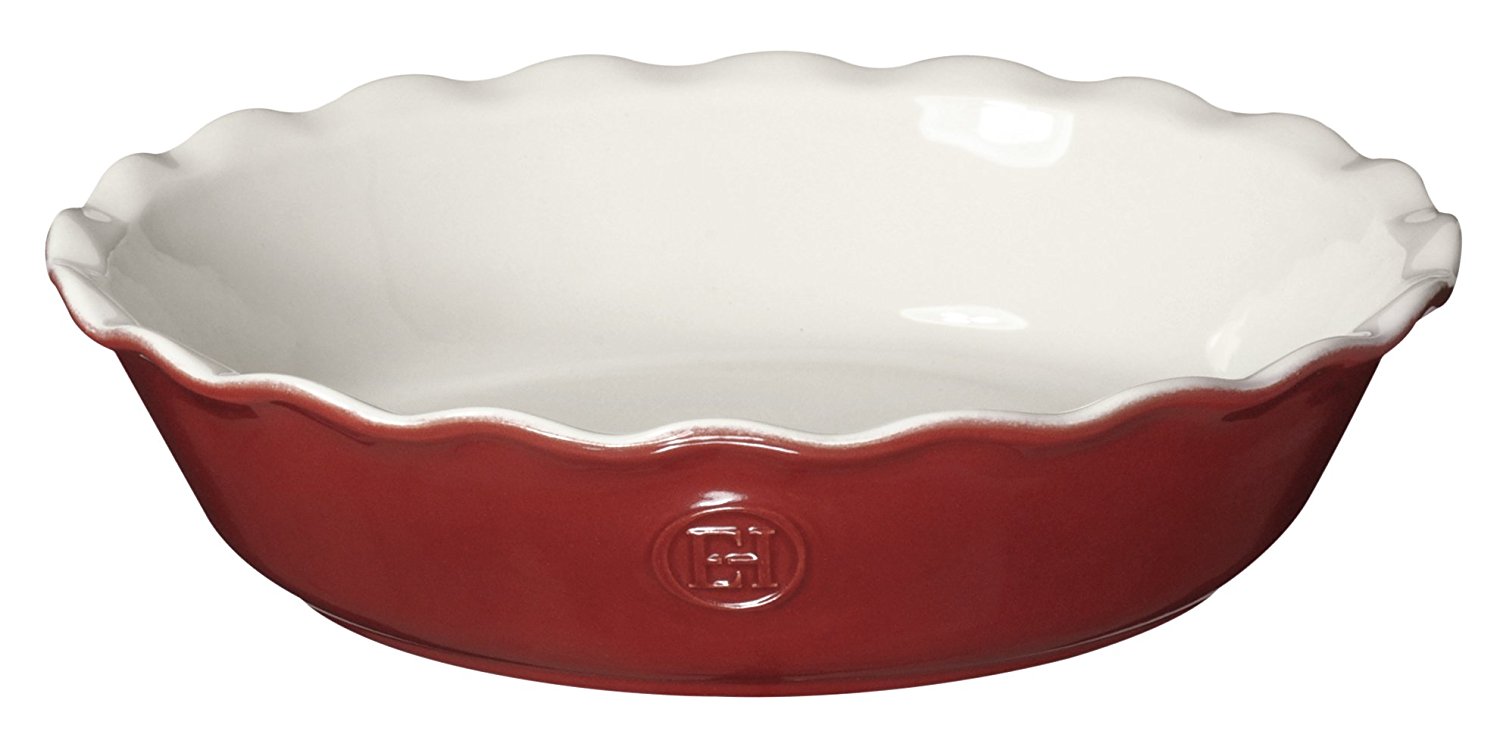
Who doesn’t love pie!! For an amazing pie pan that works wonders try out the Emile Henry Pie Pans. This is a top notch pie pan and will last you years to come. The pan heats up evenly and conducts the heat very well making for a perfect pie crust every time!! The ceramic coating prevents chips and dings while making for a super cinchy clean up. Not only does it function perfectly but it is also a very pretty dish making for a beautiful presentation! Click on the link to try one out, you will be amazed at how wonderful your pies will turn out!!


 This copyrighted material may not be republished without express permission. The information presented here is for general educational purposes only. MATERIAL CONNECTION DISCLOSURE: This website contains advertisements. You should assume that this website has an affiliate relationship and/or another material connection to the persons or businesses mentioned in or linked to from this page and may receive commissions.
Leave A Response