
Making the easiest bread of all
Quick Breads.
Â
Out of the gluten free breads, gluten free quick breads are one of the easiest breads to bake. Not having to deal with yeast and trying to make something that is naturally very glutinous with ingredients that are not, makes this my favorite thing to bake. Quick breads are so versatile. You can use them for breakfast, lunch and dinner!
We need to look beyond yeast breads and start thinking of using a different kind of bread for sandwiches, French toast, bread pudding, croutons, and breading for meats or vegetables. Savory quick breads can fit in very nicely.
How many times have you used leftover biscuits for a sandwich because you didn’t want them to get stale on you. Have you thought about using those same stale biscuits for croutons or bread crumbs?
The cool thing about gluten free baking is that nothing is off limits! Use your own love of cooking and have fun with the possibilities!
Â
Many things fall under the heading of “Quick Breads”.
Â
Quick bread loaves like Banana Nut Bread or Garlic Cheese Bread for example. Muffins are next… think Blueberry, Carrot Raisin, Honey Oat.. I’m getting hungry!
Biscuits are a must with sausage and gravy, honey, butter, strawberry jam, with a bit of ham and mustard, or how about cheese!
And good ole pancakes and waffles. What about topping your waffles with creamed chicken or turkey, whipped cream and strawberries, fresh fruit and raspberry syrup.
So don’t worry about trying to make yeast breads. Use these tips and get started with gluten free – yeast free breads right now!
Â
Tip #1
Quick Breads Â
Make sure you have all your ingredients at room temperature unless the recipe states otherwise. Blend all your dry ingredients together first. Blend your wet ingredients together in another bowl. Then add the wet to the dry stirring as little as possible. Make sure to grease your pans and use parchment paper in the bottom of the loaf pan if you want to be sure that it will come out clean!
Gluten free quick breads are on the heavy side and have a hard time baking all way through in a regular sized loaf pan ( 9×5 loaf pan). Usually the bread will be done around the outside edges and gooey in the middle. Try using smaller loaf pans ( mini loaf pans)Â and reducing the amount of time for baking ( about half). Always check about 5 minutes before the time is up.
If you open the oven door earlier than that, your quick bread will fall and sink in the middle. I can’t tell you how many times I have done that. Check for doneness with a toothpick. If it comes out clean in the middle, your breads ready to come out. Always cool on wire racks.
Tip #2
Muffins
Muffins are very similar to quick breads. In fact, you can take ANY Quick Bread recipe and scoop it into muffin cups and bake it that way.
Again, do not over mix your batter! Your muffins will end up tough. Gently, gently! Once you have your dry ingredients mixed together and your wet ones in another bowl, pour the wet ingredients over the dry and take your spoon and stir just till combined.
Now, the important thing. Walk away! Let your batter rest for two minutes to allow the dry to absorb the liquids. This is vital with gluten free flours. Your muffins will love you for it.Â
Take your cookie scoops and scoop out your muffin batter. I cannot tell you how easy this makes it. No more gloppy mess everywhere because your spoon or 1/4 cup measure has left little messes all over the place. Use Cookie Scoops!
I recommend that you have three six cup muffin baking pans. Many times a recipe has said it makes 12 muffins and I end up with 16 or 18. Having the extra pan saves me from throwing out the rest of the batter ( I hate to do that).
When your muffins are baked and out of the oven, instead of turning them out on a rack, you can gently lift them and turn them on their sides right in the muffin tin. this keeps the bottoms from becoming soggy and you don’t have to get anything else dirty. I do this all the time.
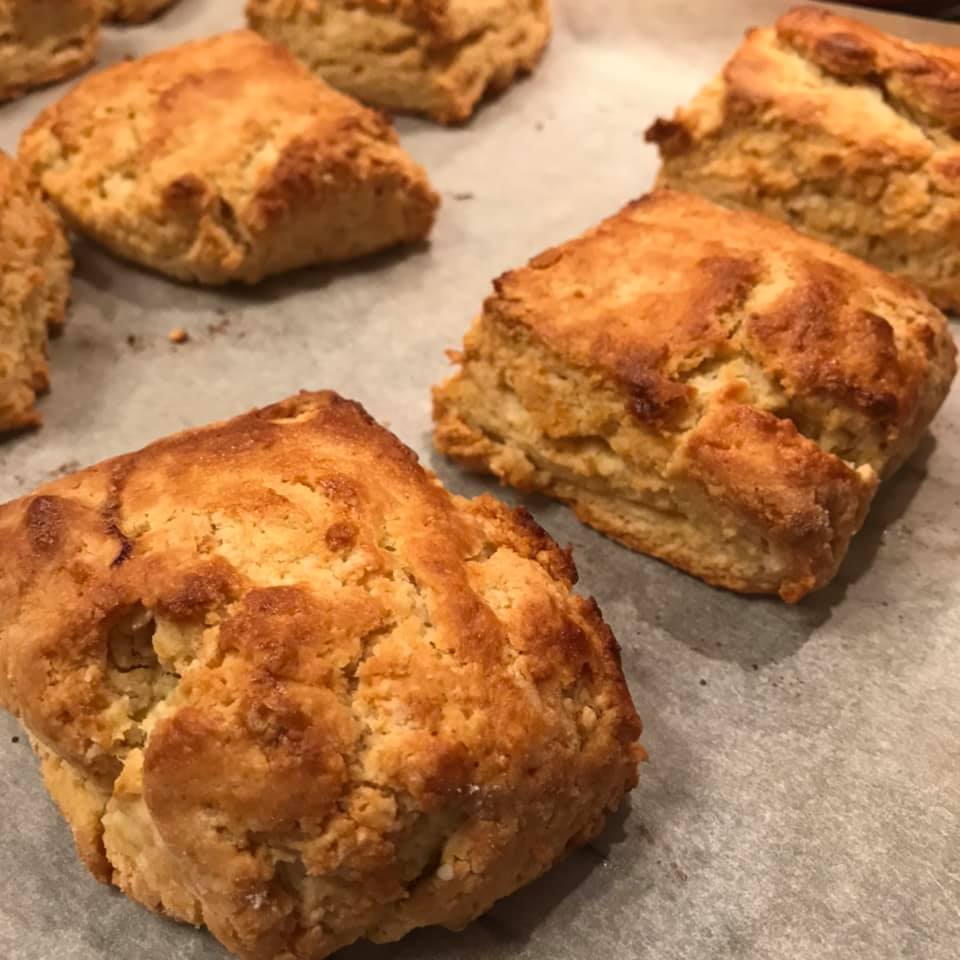
Tip #3
Biscuits
Make sure your butter, margarine or shortening is well chilled and cut into little cubes so you can cut it in more quickly and evenly. This is where a food processor really shines. You can dump in your dry ingredients and shortening and pulse a few times.
Using vegetable shortening produces better biscuits than all butter. Spectrum Naturals makes an organic non-hydragenated shortening that is wonderful!  Dump the cut in flour mix into a bowl and work in the liquid ingredients. Super quick and easy.
Gently pat your biscuits out and cut with a cutter, do not use a rolling pin. You’ll just squish them down and make it harder for them to rise. Place biscuits on parchment paper lined baking sheet just touching each other.
This helps them to rise up and not out and allows the steam from the biscuits themselves to escape better than pushing them tightly against each other.
 Gently indent the center of each one with your thumb so they cook up flatter and not with a domed top. Make sure to bake in a hot oven (at least 400 degrees). Â
Tip #4
Pancakes and Waffles
Use a store bought mix or make your own.
Whisk your dry ingredients together in one bowl and then blend all the liquids together with a whisk in another bowl
Add the liquids to the dry and whisk. Do not use a spoon. A whisk will blend faster and better. Now preheat your waffle iron or skillet.
Using a ladle to pour our your batter makes it easy to get uniform sized pancakes and waffles and is less messy than a cup. Grease your hot surface and go to it. Smells good!
Want blueberry pancakes? Now is the time to add them. Just sprinkle them on top of the just poured pancake batter. They will cook just fine. Do this for any fruit you want to add to your pancakes.
If your batter seems thick, whisk in a little more milk. A wetter batter works better with gluten free flours.
Flip when golden brown on the bottom. Sometimes gluten free pancakes do not bubble and pop like wheat ones do. Watch your bottoms!
To hold them in the oven, preheat to 200 degrees. Line a baking sheet with a kitchen towel. Stack the cooked pancakes in a single layer then top with another towel. Keep adding pancakes in a single layer along with another towel until you have cooked them all. Then serve right away.
For Waffles follow the same procedures, cooking on a pre heated iron. Allow the steam to slow down before you check to see if they are done. Again, a wetter batter works better. The longer you bake your waffles, the crisper they will become.
To freeze, wrap in a plastic wrap and place in zip type bags. Freeze flat in the freezer. Then you can move them to wherever you want. Take out and toast in a toaster oven or your regular oven.
Â
If you’re not hungry after reading about all these yummy goodies, I’m losing my touch!
So get those muffin pans, waffle irons, skillets or loaf pans and get to it ;).Â
 Have fun! Bake more!
Kathy
ps…. join me on facebook or twitter. Let’s share the fun!


 This copyrighted material may not be republished without express permission. The information presented here is for general educational purposes only. MATERIAL CONNECTION DISCLOSURE: This website contains advertisements. You should assume that this website has an affiliate relationship and/or another material connection to the persons or businesses mentioned in or linked to from this page and may receive commissions.
Leave A Response