
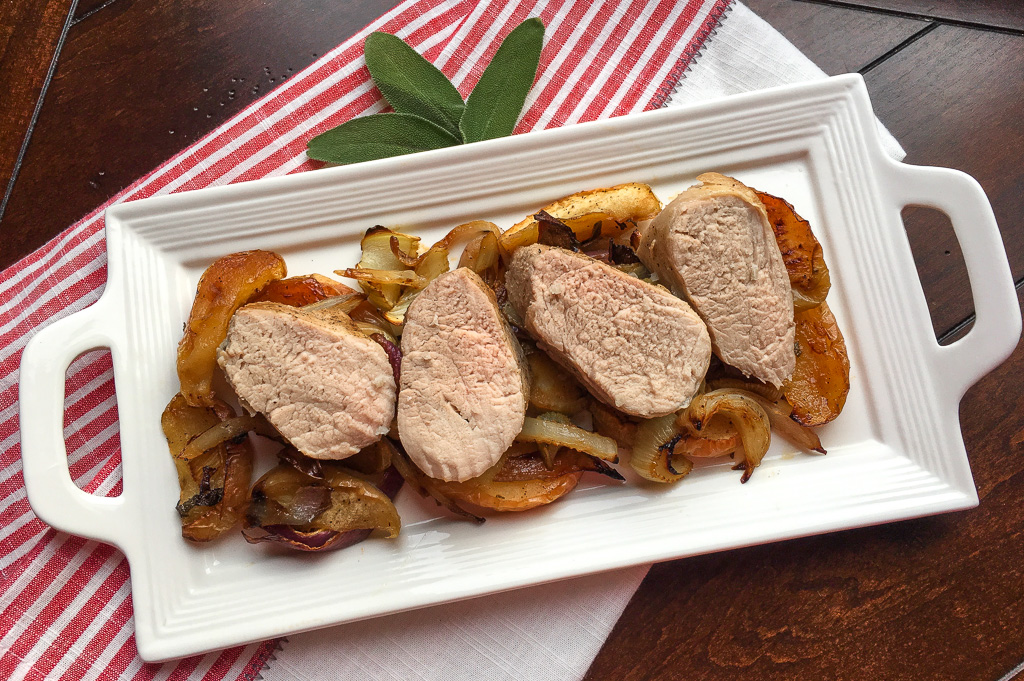
Gluten Free Apple & Fennel Roasted Pork Tenderloin
For best results, prepare this gluten free recipe on two sheet pans, rather than one. The tenderloin releases a lot of juice while cooking, which can lead to soggy vegetables if they are all cooked together. If roasted separately, the apple and vegetables will have a chance to develop a deep, rich color, which leads to better flavor and a nicer presentation.
Tip: Use apple varieties that hold up well to heat. Honeycrisp and Granny Smith are good varieties for this recipe.
Prep time: 10 minutes
Cook time: 25-30 minutes
Serves: 4
Ingredients:
2 firm Honeycrisp or Granny Smith apples, sliced
1 large fennel bulb, trimmed and sliced
1 large red onion, sliced
1 T. fresh sage, finely chopped
3 T. extra virgin olive oil, divided
1 T. balsamic vinegar
2 lbs. pork tenderloin, trimmed
Sea salt and black pepper, to taste
Directions:
Set the bottom oven rack to the bottom 3rd and a second rack to the top 3rd. Preheat oven to 400°F and line two rimmed baking sheets with parchment paper or Silpat® baking mats. Set aside.
In a large bowl, toss the apple, fennel, red onion, sage, 2 tablespoons of olive oil, and balsamic vinegar. Season with salt and black pepper, to taste, and combine until the apple and veggies are completely coated.
Spread the apple mixture onto one of the prepared baking sheets and roast on the bottom oven rack for 10-15 minutes, or just until the veggies start to soften and develop a bit of color.
While the apples and veggies are roasting, place the pork tenderloin in the center of the second baking sheet and brush with the remaining olive oil. Generously season with salt and black pepper, to taste.
Once the apples and vegetables start to develop some color, place the seasoned pork tenderloin on the top oven rack and roast for 15 minutes before turning the pork. Cook tenderloin for another 10-15 minutes, or until it is cooked through.*
Remove both sheet pans from the oven and allow the pork to rest for 10 minutes before slicing and serving with the roasted apple and vegetables.
Enjoy!
Kathy
If you click on any of the links associated with this blog we will receive a small commission! Thank you for your support it is greatly appreciated!
*Note: Always cook meat to temperature, not by time. Actual cooking time will vary based on a number of factors, including internal starting temperature, individual oven variations, size and thickness of the meat, what else is in the oven while cooking, etc…
The minimum safe cooking temperature for fresh pork is 145°F.
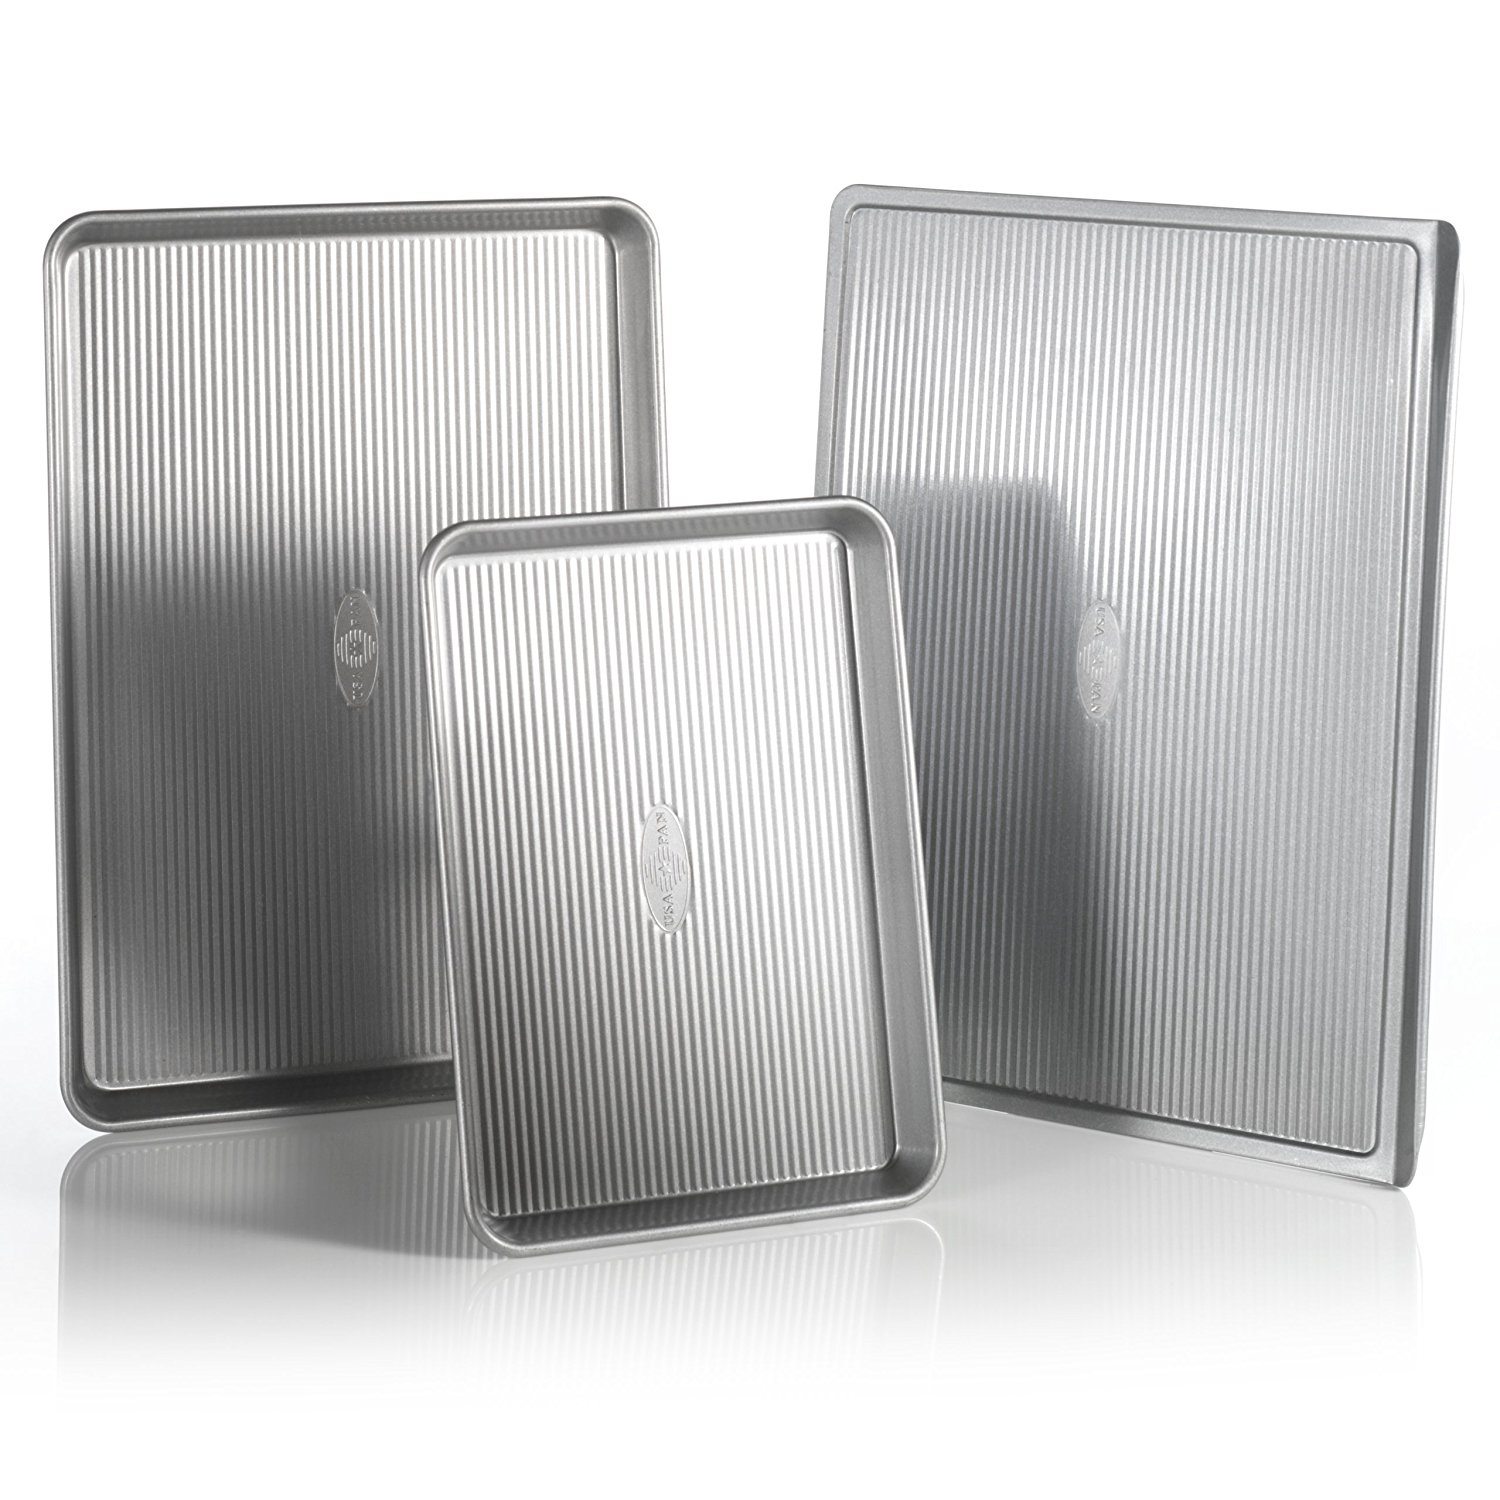
Bake like a professional with the USA baking pans. These baking sheets are a top of the line product that are durable, easy to clean, and made to last a lifetime! The baking surface is made with Americoat which is a high grade nonstick silicone that will allow your goodies to slide right off the pan without any scraping. Every pan is made right here is the USA and is warp resistant! No more loud popping sound coming from your oven and wondering if your goodies stayed on the pan! Whether you are a professional or a home cook you will love these pans! Click on the link or picture to give them at try!!
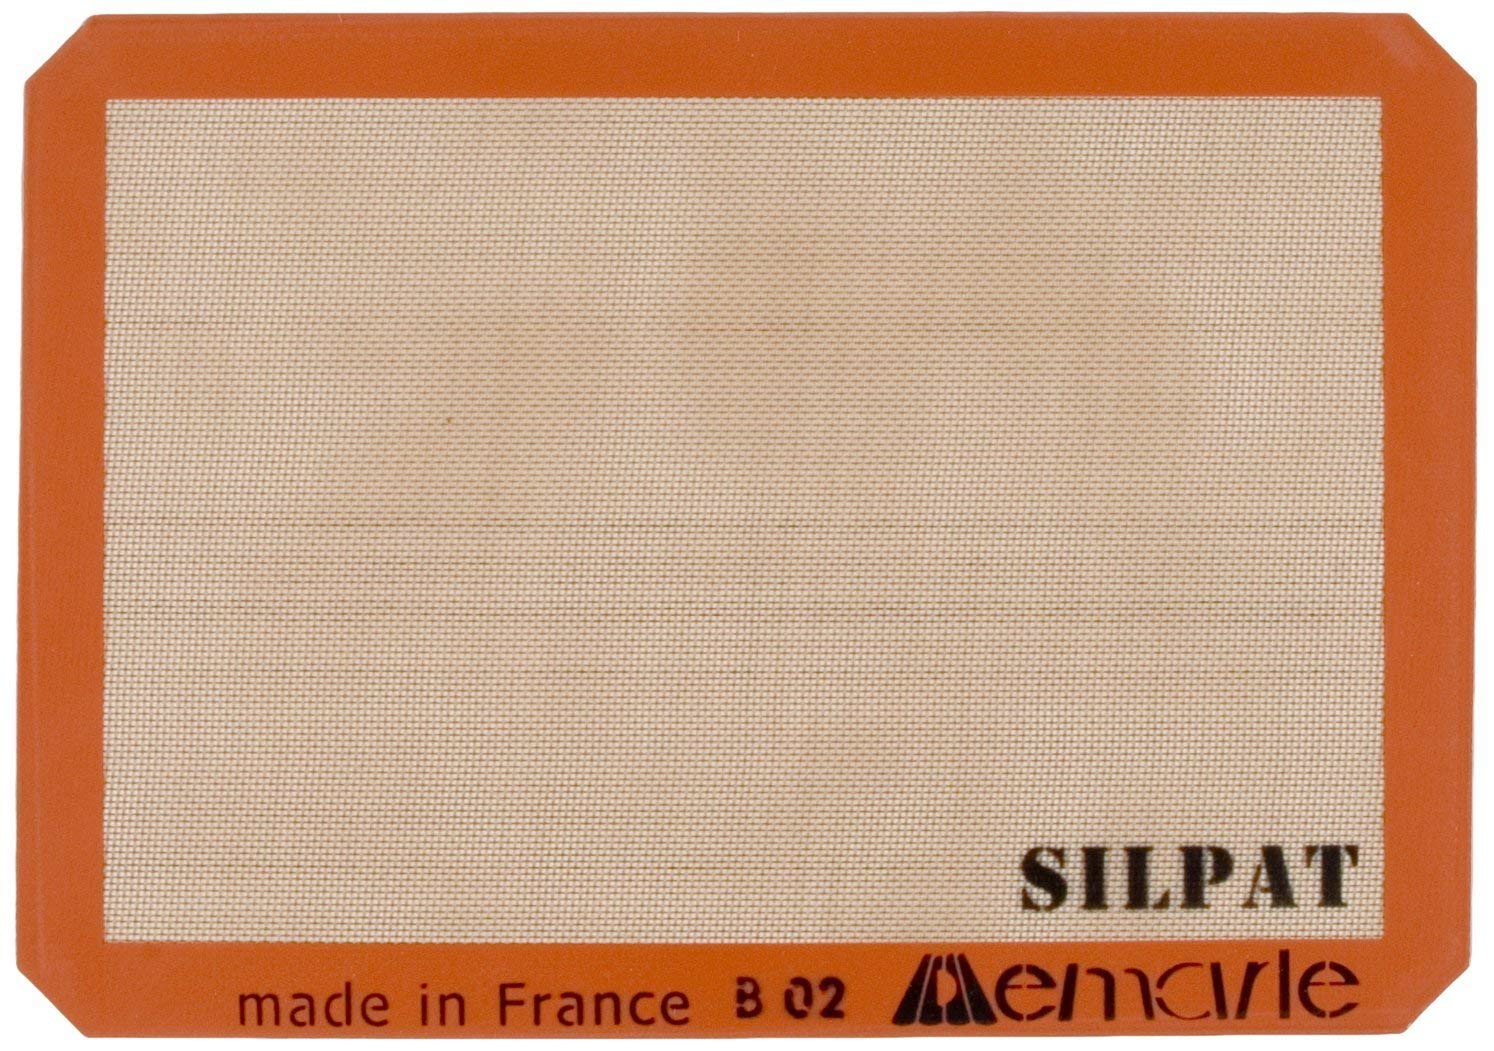
You can turn any pan into a nonstick pan with Silpat mats! Silpat mats are a must have for every kitchen. Now a days everyone is trying to do their part by going green, so instead of using parchment paper and constantly having the waste I use a Silpat mat, they are reusable and super easy to clean plus they fit perfectly inside my baking sheets so no need to trim or cut parchment paper to fit! They are perfect for any application from roasting veggies, like we are in this recipe, to caramel and other sticky things. Click on the link to check them out!
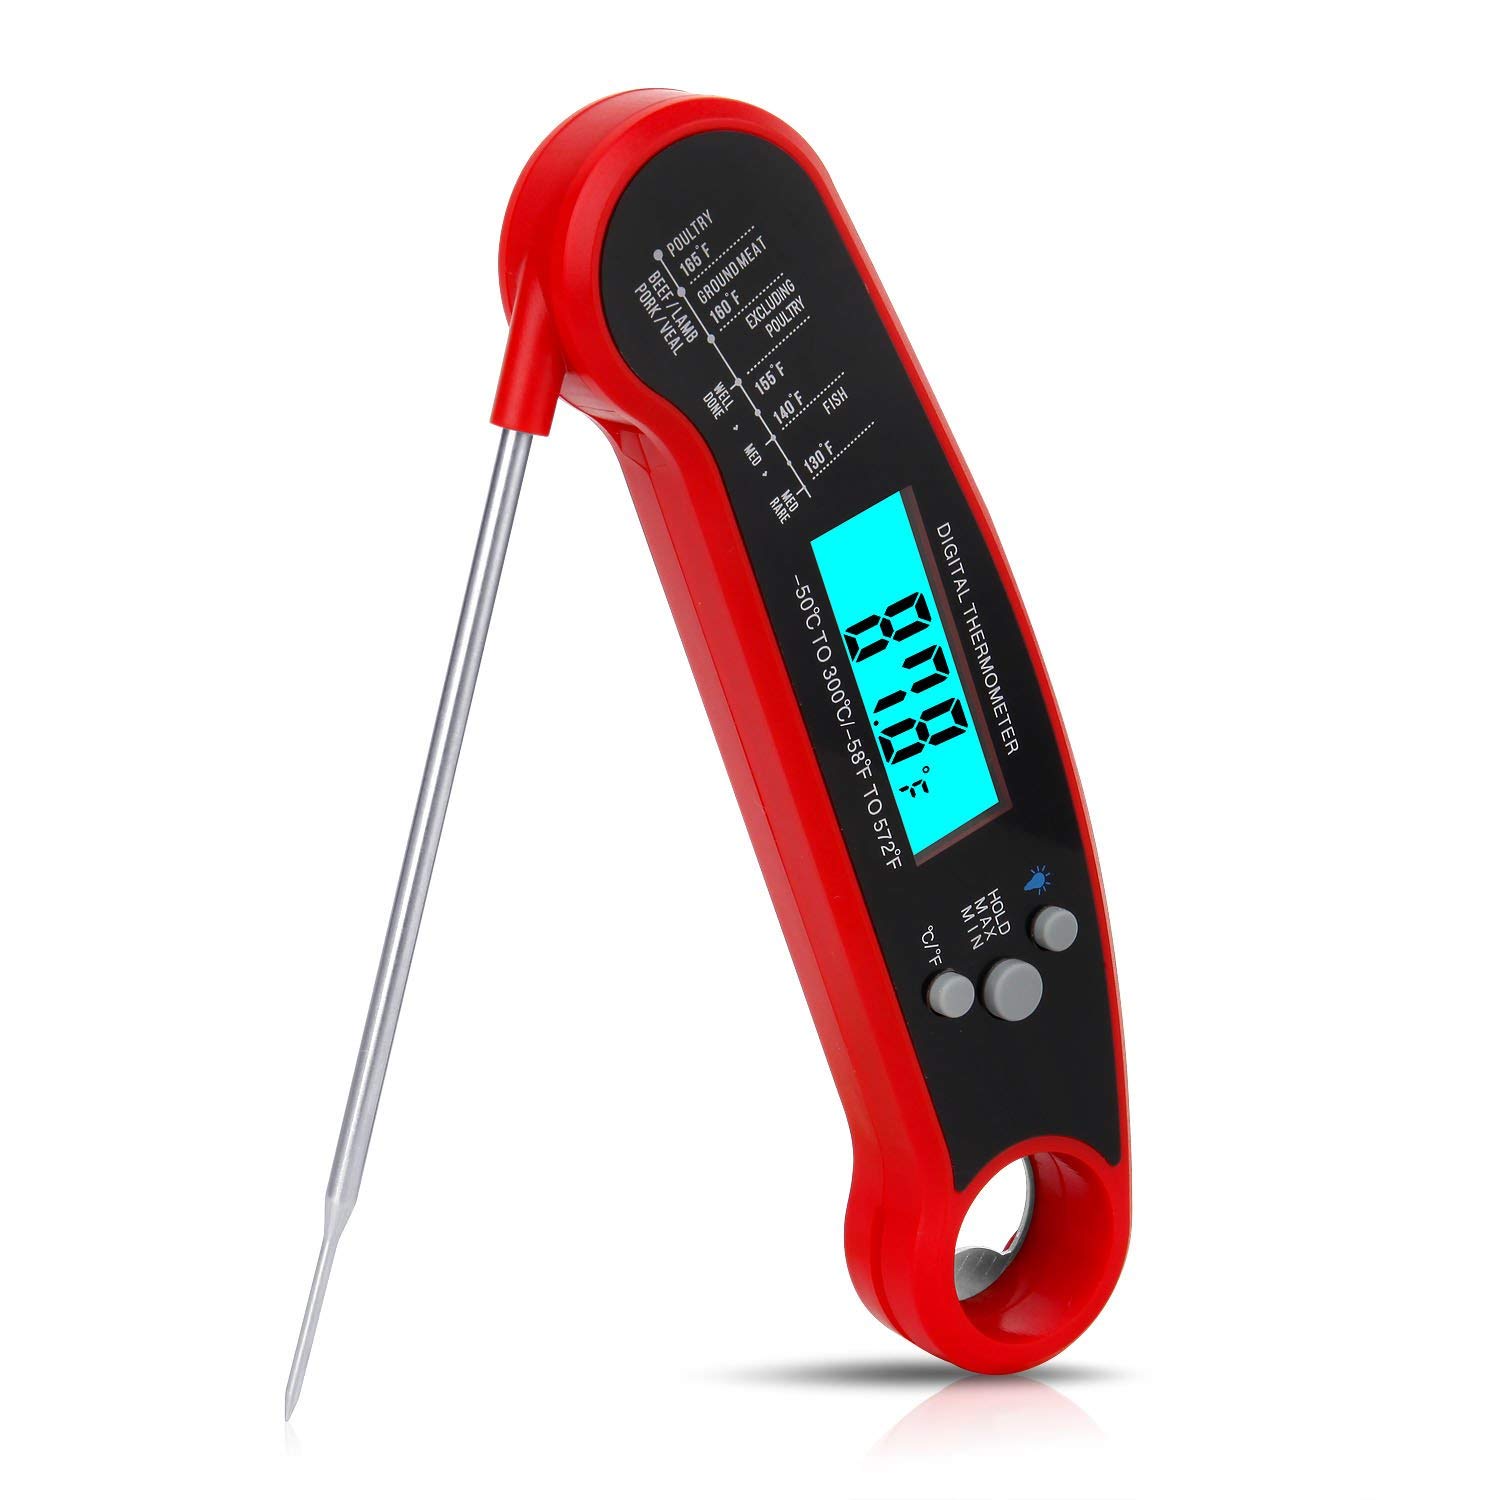
Nothing is worse then cutting into a piece of chicken or pork and it still being pink inside. You never want to serve under cooked meat! Not only is it embarrassing but now you have to reheat the pan and worry if all the other pieces you are serving were cooked long enough. To verify that you are cooking things to perfection use a meat thermometer. They are inexpensive and worth having handy. The thermometer can read the internal temp in just seconds flat. Just insert the probe into the largest thickest piece of meat and the temperature will pop up on the led screen. Click on the link to get the one I used for this recipe.


 This copyrighted material may not be republished without express permission. The information presented here is for general educational purposes only. MATERIAL CONNECTION DISCLOSURE: This website contains advertisements. You should assume that this website has an affiliate relationship and/or another material connection to the persons or businesses mentioned in or linked to from this page and may receive commissions.
Leave A Response