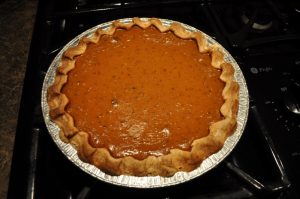
We have a Village Inn® not too far from us. Every time we walk in, you see rows and rows of the yummiest looking pies ever! Apple, lemon cream cheese, cherry, chocolate cream, banana cream, lemon meringue, and of course pumpkin.
I’ve heard they sell more pumpkin pies than any other kind, no matter what time of year it is. (In case you’re wondering, I usually get a salad when we go). I found a copycat recipe so I decided to make my own version to add to my collection of gluten free recipes, and to yours.
Gluten free Village Inn® Pumpkin Pie
Ingredients:
One gluten free pie crust, partially baked (store bought or homemade)
1 15 oz. can of solid pack pumpkin (not pie mix)
3 eggs
1/2 cup sugar
1/4 cup packed dark brown sugar
1 tsp. ground cinnamon
1/2 tsp. ground ginger
1/4 tsp. each cloves and nutmeg
1/2 tsp. salt
3/4 cup whole milk
1/4 cup heavy cream
Directions:
You can buy a gluten free pie crust or make your own. Either way, pre-bake your pie crust for 6 minutes in a 350 degree oven. To prepare your crust for baking, place a piece of foil big enough to cover the bottom and sides of your pie crust. Place the foil smack in the middle and pour pie weights or dry beans on the foil.
You want to go up the sides about 1″inch. The weights or beans keep the crust from shrinking in the oven as it bakes.The reason for pre-baking your crust is so the pumpkin filling doesn’t make a soggy bottom crust later.
Now for the filling. Beat the eggs with a hand held mixer and then add the can of pumpkin. Combine the sugar, brown sugar, spices and salt together in a medium bowl. Mix into the pumpkin. Beat in the milk and heavy cream and set aside.
Heat the oven to 425 degrees. When it gets up to temperature, pour the pie filling into the crust and bake for 15 minutes. Then reduce the temperature to 350 degrees and bake for about 50 to 60 minutes or until a knife inserted near the center comes out clean.
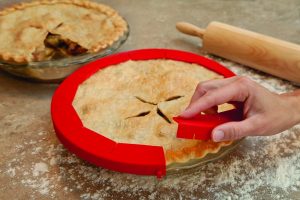
If your pie crust edges are getting too brown and you think they might burn, cover them with strips of foil or a pie crust shield. I usually go ahead and cover mine about half way thru baking. I am not a fan of near black edges. Yuck!
Allow the pie to cool completely before slicing into. Makes 6 good sized pieces or 8 regular sized ones.
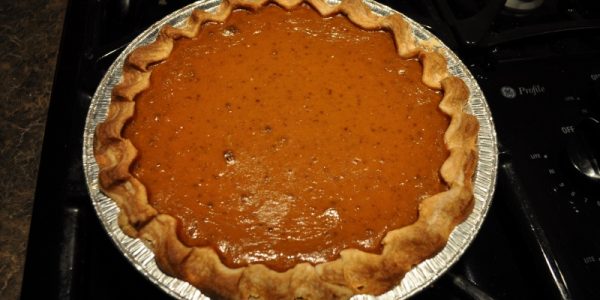
You could always bake this in a foil pie tin and claim you bought it at the store. Not kosher, I know, but those who say they don’t like gluten free stuff might give it a try. But then, there wouldn’t be as much left over for you, so maybe it’s not worth it. I want leftovers for me 😉
Enjoy!!
Kathy
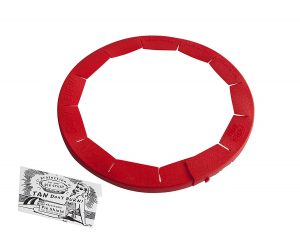
If you don’t have a pie crust shield, you really need to get one for gluten free pies. The crust always browns up way to fast before the filling is done. Now, with a two crust pie like apple, you can cover the entire pie with a double piece of foil and be good. But when you have a single crust pie like this one, the foil has a tendency to stick to the filling and then you’ve got a mess on your hands. I love my Pie Crust Shield!!
This is a great gadget to have around. Especially since you’ll be baking lots of pies.
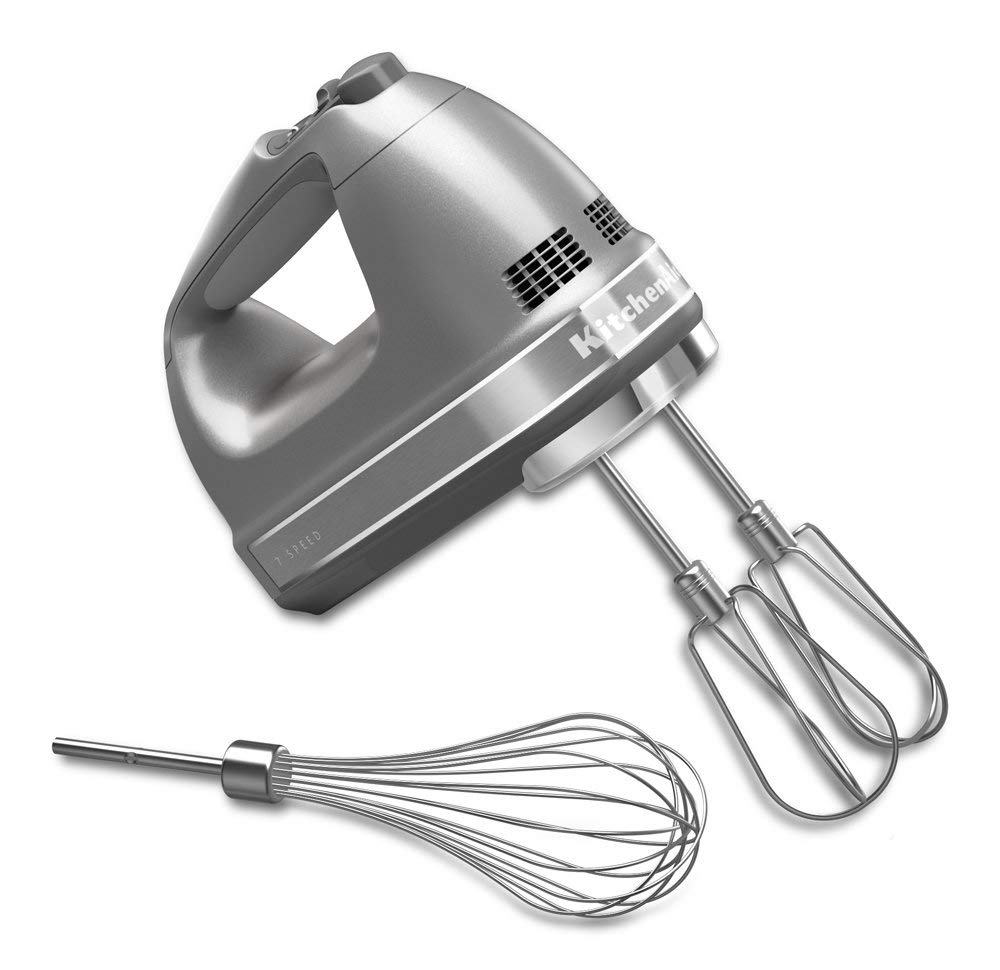
Why mix things by hand when you can let a machine do it for you? I always keep handy my KitchenAid Hand Mixer! It’s easy to use and it fits perfectly in the top drawer of my cabinets for easy access. Just pop on the beaters, plug in it, and your ready to roll! Click on the link to get yours!
If you click on the links in this post, I receive a small commission for them. Thanks for all your support. It is greatly appreciated.


2 Comments
sue knitz
December 19, 2016My niece must have gluten free. Thank you for your help.
kathy
December 20, 2016It is my pleasure. Having Celiac myself I know what it’s like.
Leave A Response